Author: Erick

Erick Wright a journalist focusing on editorial writing that covers global politics.

The Magic of CBD Flowers: How They Can Improve Your Health and Wellbeing

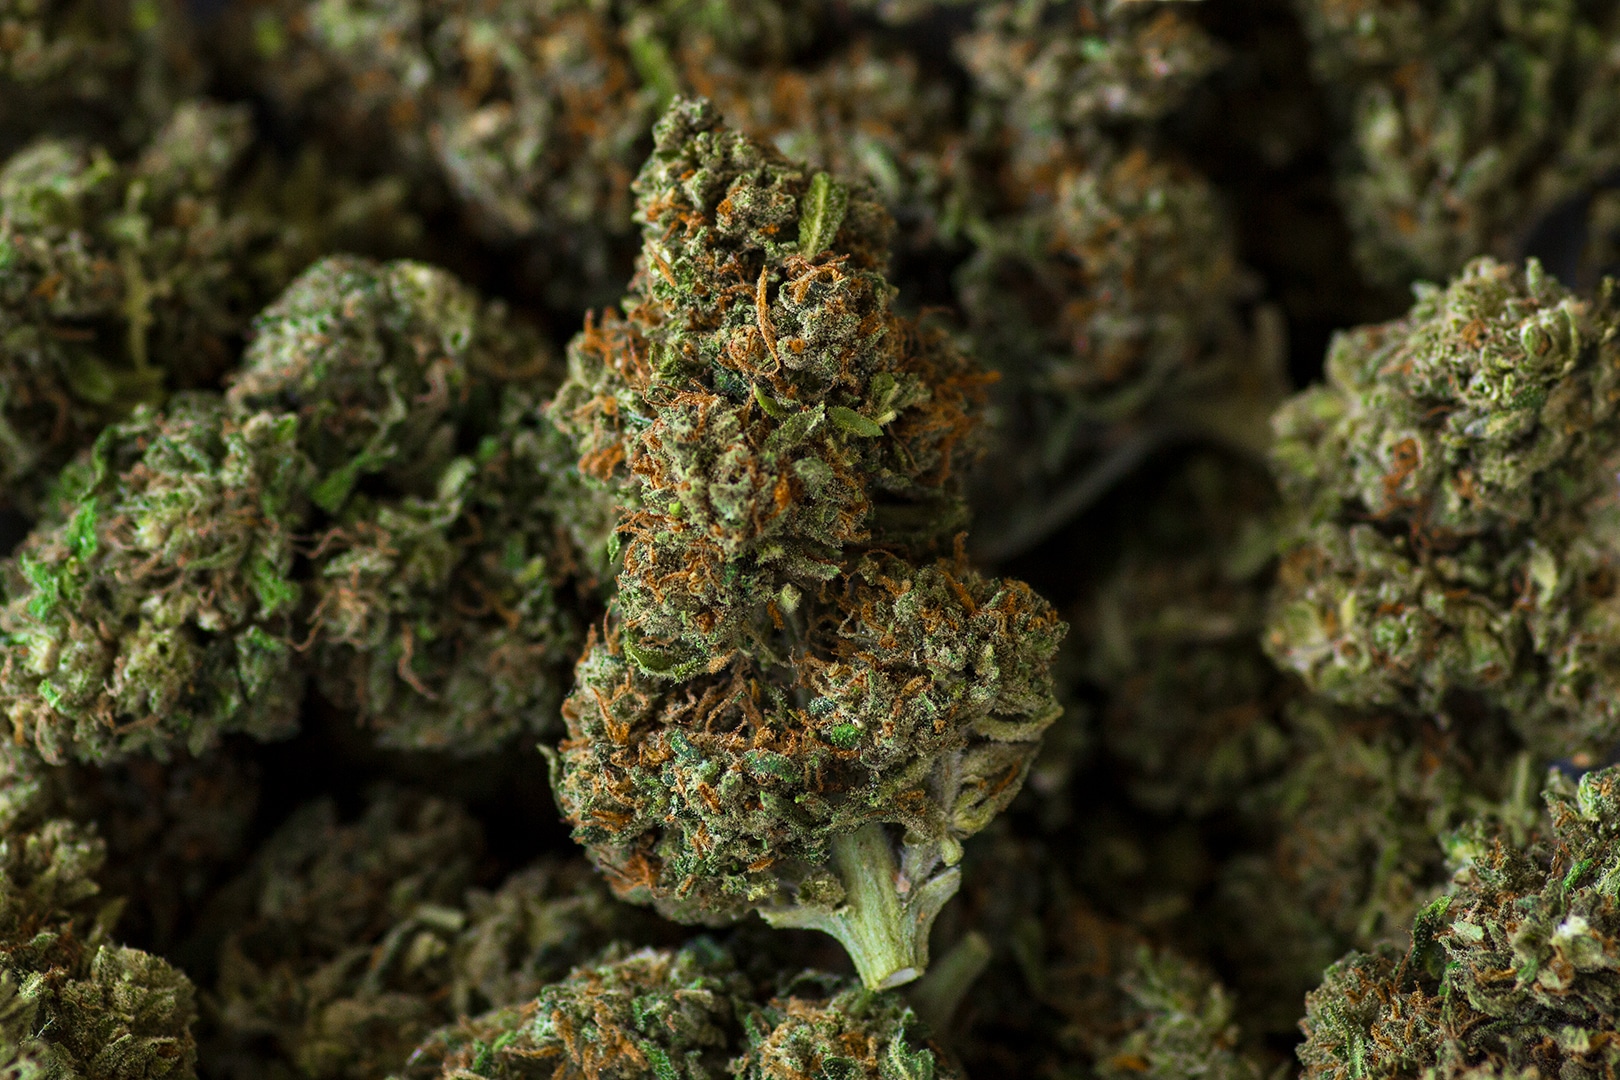
CBD flowers are gaining attention as a powerful natural remedy for a variety of health conditions. As the name implies, CBD flowers come from the cannabis plant, but unlike marijuana plants, they don’t contain enough THC to get you high. Instead, what you get is an incredible amount of power packed into a tiny flower bud that can help improve your mental and physical health in amazing ways. From reducing anxiety to improving sleep quality, top shelf cbd flower has become increasingly popular among those looking to enhance their well-being naturally.

What Is CBD?

CBD stands for cannabidiol, one of several compounds known as cannabinoids found in cannabis plants. Unlike its more well-known sibling THC (tetrahydrocannabinol), which is responsible for the psychoactive effects associated with smoking marijuana (or eating edibles), CBD does not produce any type of “high” or intoxication when consumed — instead, it simply helps promote balance within the body and mind. This makes it an ideal option for those who want to experience the therapeutic benefits of cannabis without any negative side effects or legal consequences associated with recreational use.

What Are The Benefits Of Using CBD Flowers?

There are countless potential benefits associated with using top-shelf cbd flowers products such as decreased inflammation, improved moods, better sleep quality, and even reduce symptoms of depression and anxiety. Additionally, many people find that these products provide relief from chronic pain without the use of opiates or other medications that can be potentially addictive or dangerous if taken over extended periods of time. Furthermore, since there is no intoxicating effect associated with consuming these products, individuals can enjoy them at any time without worrying about impairing their ability to complete daily tasks like driving or operating heavy machinery safely.

 What Types Of Products Are Available?  

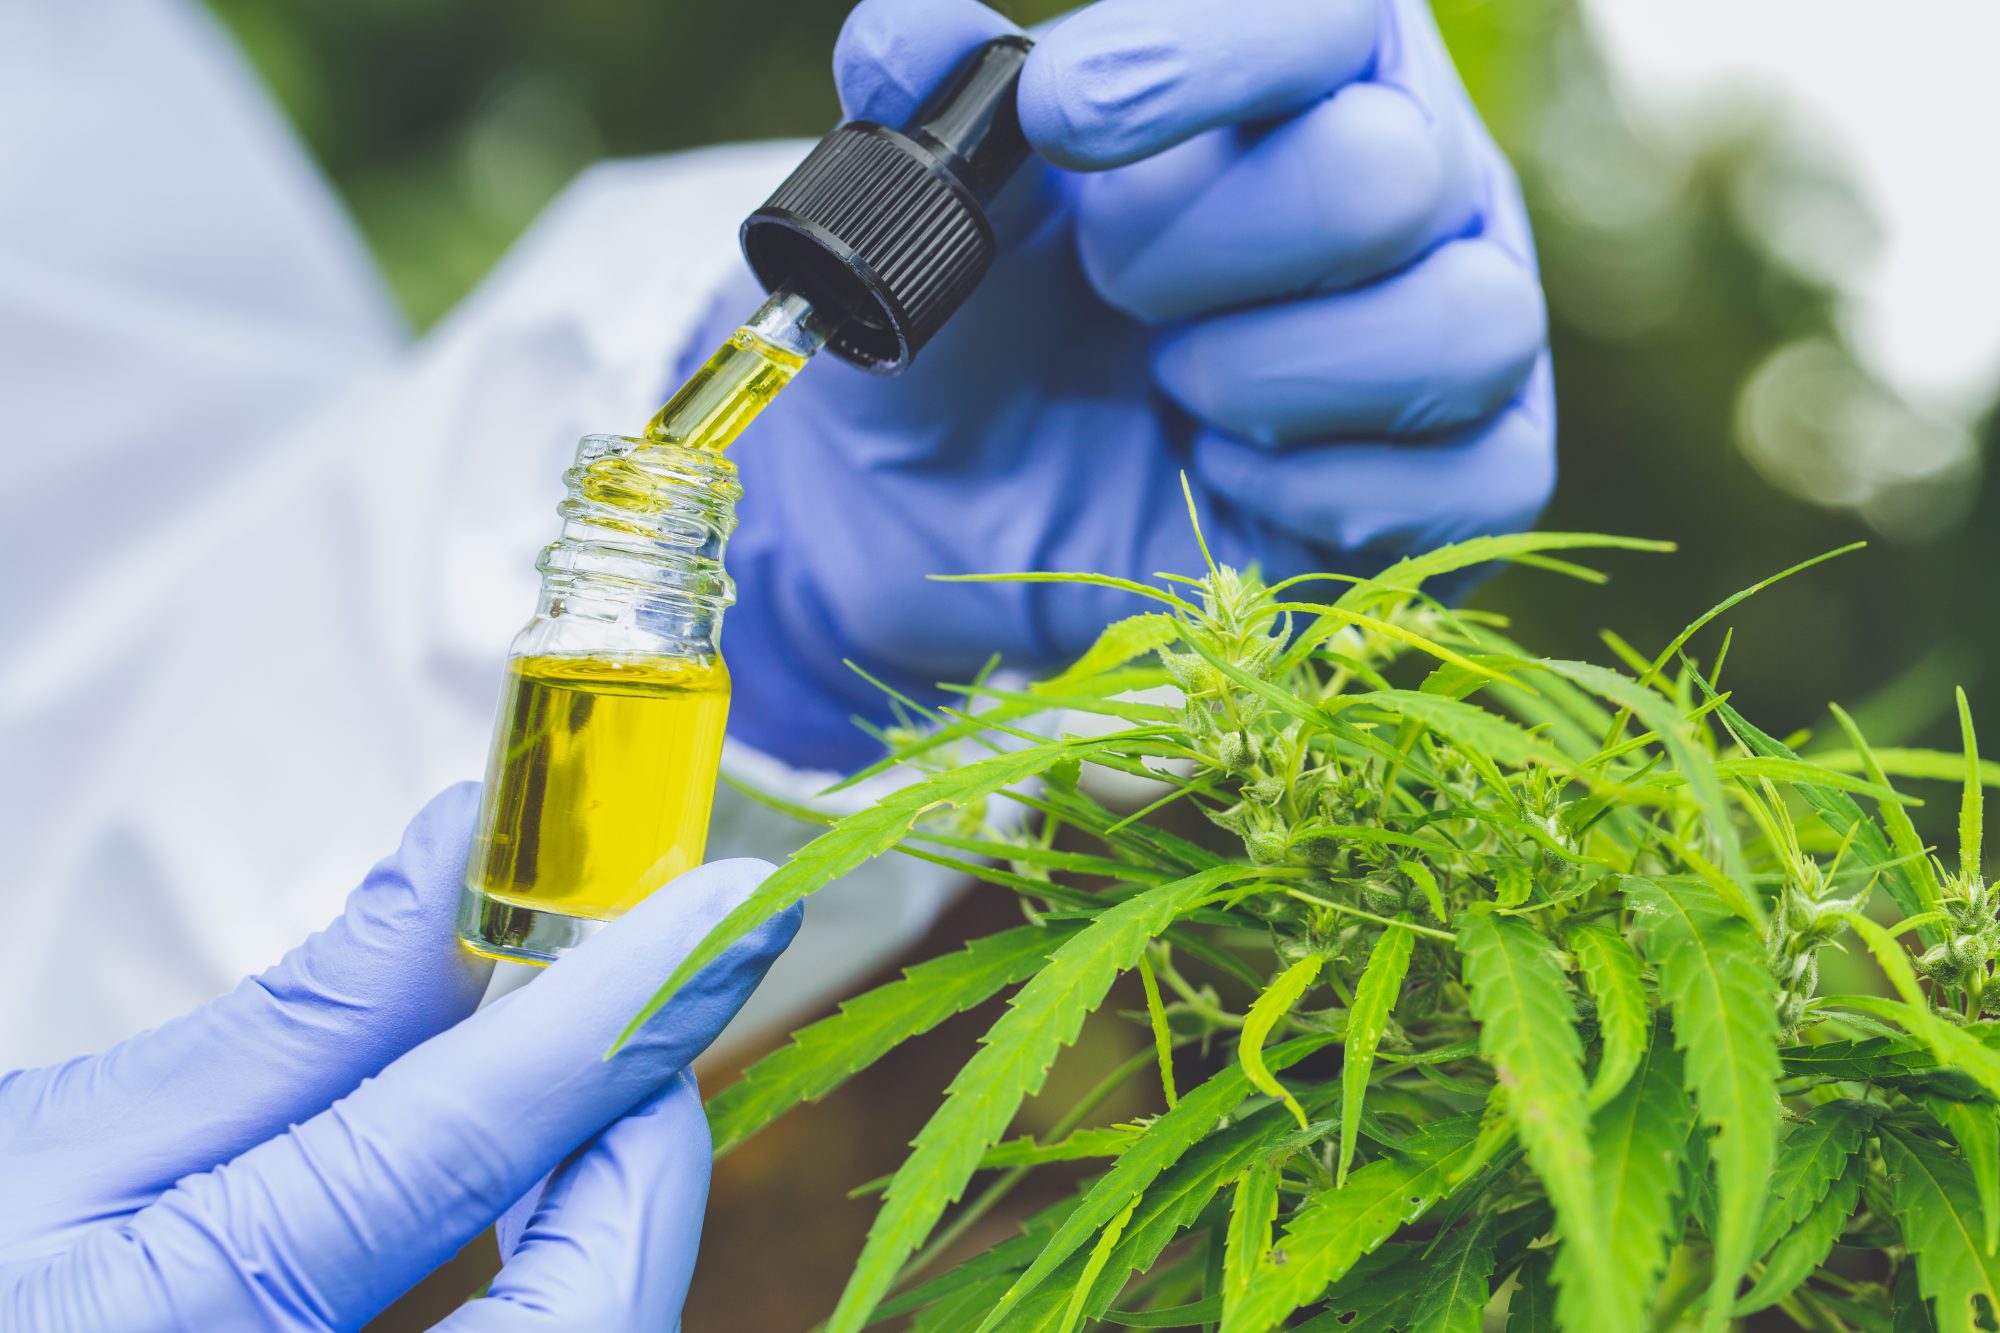
When it comes to finding top-shelf cbd flower products there is no shortage available on the market today; from tinctures and oils to edibles such as gummies and chocolates — not forgetting about the ever-popular vape pens! Additionally, there are multiple ways in which you can consume your favorite CBD product such as sublingual administration (underneath your tongue) or inhaling vaporized oil through a vape pen/cartridge system. Ultimately though it all boils down to personal preference when choosing how best to take advantage of this magical little plant’s therapeutic properties!

 How To Know Which Product Is Right For You?  

With so many different types of CBD products available on the market today it can be difficult trying to decide which one might be right for you — especially if you’re new to using them! Fortunately, there are some simple steps you can take in order to make sure you choose wisely: Firstly look into who grows/sells your desired product — reputable companies often have extensive lab reports available online detailing exactly what is inside each batch they produce. Next up check out reviews from other customers who have used similar items — this will give you an idea about whether or not something may work well before investing money into it yourself! Finally, speak with a medical professional if necessary before consuming anything just in case there may be potential interactions between existing medications/conditions, etc.

 What Other Tips Should I Keep In Mind When Purchasing Top Shelf CBD Flower?

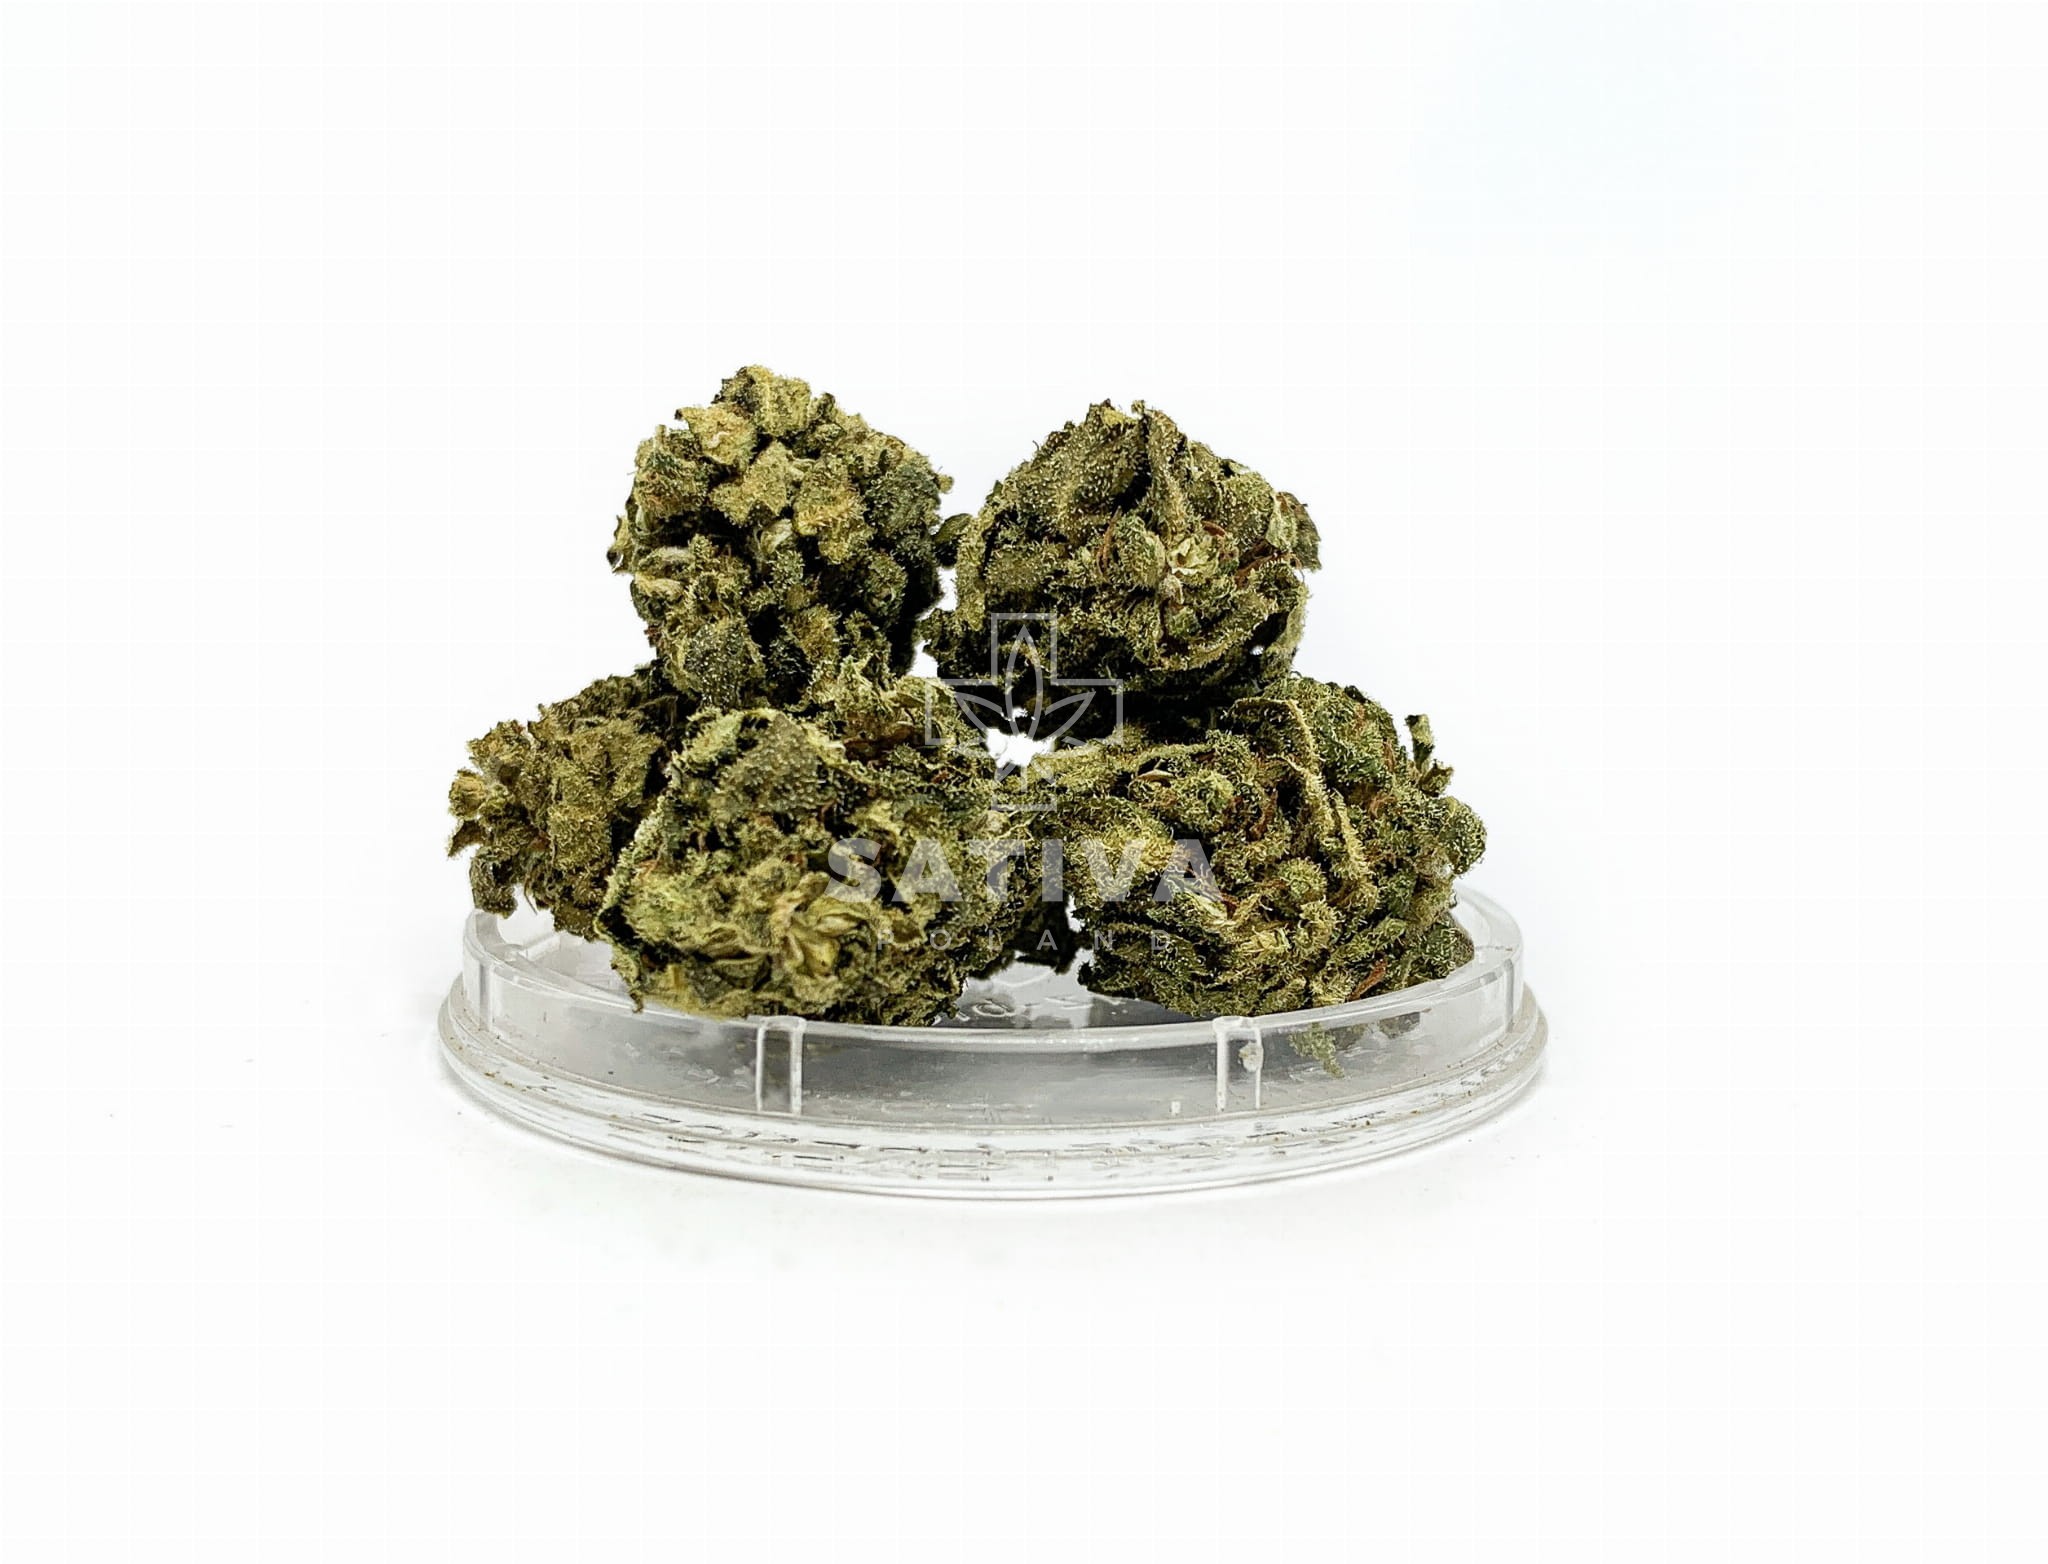
The biggest thing when shopping around for good quality top-shelf cbd flowers is knowing exactly what kind of product you’re looking for: full spectrum vs isolate-based extracts being two main contenders here but also taking into account things like dosage sizes/potencies too! Secondly, always purchase from trusted sources rather than random websites offering bargain basement prices as this could mean compromising on safety standards, etc. And finally, keep track/records of what works best for yourself because everyone reacts differently so making notes along the way will help narrow down future purchases quickly + easily should need to arise again!

 Conclusion

At this point, it should hopefully be clear why so many people are turning towards top-shelf CBD flower products when looking for natural relief from various ailments — providing users with countless potential benefits while avoiding some common pitfalls associated with other forms of medicinal cannabis consumption methods ie: intoxication, etc…

So regardless if you’re dealing with chronic pain issues or just looking for something extra special during moments when everyday stress seems too much then consider giving these magical little buds a chance at transforming your life today – don’t let another day go by without experiencing this incredible gift nature has given us all!

Discovering The Benefits Of Using CBD For Feline Health

CBD for cats has been gaining traction in the pet health industry as more and more pet owners are looking to natural remedies to help their felines live a better quality of life. Cannabidiol, or CBD, is a compound found in cannabis plants that have long been known for its therapeutic properties. Recent research indicates that this powerful compound may be just as beneficial for our feline friends as it is for humans. In this article, we will explore the potential health benefits of using CBD for cats and discuss how it can be used safely and effectively.

What Is CBD And How Does It Work?

CBD is a naturally occurring compound found in cannabis plants such as hemp and marijuana. Unlike THC (tetrahydrocannabinol), CBD does not produce psychoactive effects, meaning it won’t get your cat ‘high’ or otherwise alter their perception of reality. Instead, it interacts with the endocannabinoid system (ECS) located throughout our bodies and those of other animals including cats. The ECS helps regulate many functions within the body from appetite to mood. By interacting with this system, CBD may be able to help provide relief from numerous ailments both physical and mental.

Potential Health Benefits Of CBD For Cats

The potential health benefits of using CBD for cats include relief from pain, inflammation, anxiety, and seizures among other things. While more research needs to be done on determining exactly how much benefit cats can gain from taking CBD there have already been promising results from studies conducted so far:

Pain Management & Inflammation Reduction

One of the most common uses of CBD for cats is in providing relief from chronic pain caused by arthritis or other conditions like cancer or injury-related pains. Like humans, animals also experience inflammation which can further worsen existing pains or cause new ones if left unchecked. Studies suggest that cannabidiol may reduce inflammatory responses in animals similar to how it works in people thus providing much-needed relief without any serious side effects like those associated with long-term use of traditional medications such as NSAIDs (non-steroidal anti-inflammatory drugs).

Anxiety & Stress Relief

Another potential benefit of using CBD for cats is its ability to offer stress and anxiety relief without causing sedation which can be dangerous depending on where your cat is when feeling stressed out (e.g., running away). Research indicates that cannabidiol could potentially act as an anxiolytic agent helping to reduce symptoms related to fear and anxiety while promoting relaxation without impairing motor skills, making it an ideal option for keeping your kitty calm during stressful situations such as vet visits or trips in the car, etc.

Seizure Control

Research suggests that cannabidiol might play a role in reducing seizure activity by modulating certain neurotransmitters involved in epileptic episodes. A number of studies have already been conducted on animals including rodents but no clinical trials have yet been performed involving felines so until then we won’t know just how effective this treatment option will be once applied directly to cats suffering from epilepsy or another condition causing seizures. Despite this lack of research however many pet owners are still seeing positive results with their own pets after giving them small doses of cannabidiol oil every day so it’s definitely worth considering if conventional treatments aren’t providing enough relief.

Best Practices When Using CBD For Cats

It’s always important to consult with your veterinarian before beginning any type of treatment plan involving cannabidiol oil since they’ll know best what dosage would work best based on factors such as weight/size etc.

Additionally, you should only purchase products specifically designed for pets since these have been through rigorous testing ensuring purity levels remain high while avoiding any potentially harmful additives present in human-grade products intended solely for consumption by people rather than animals.

Finally, make sure you source your product from a reputable company offering third-party lab tests confirming contents/potency so you can rest assured knowing exactly what you’re giving your beloved feline companion every day!

Conclusion

Using natural remedies like cannabidiol oil offers pet owners an alternative way to treat various ailments affecting their furry friends without needing resorting heavy pharmaceuticals containing harsh chemicals which often come along with significant side effects too difficult even risk putting into consideration.

With proper guidance obtained through medical professionals coupled with responsible sourcing practices, we now stand at a point wherein unlocking potential healing properties found within nature seems plausible enough to become reality!

Introducing Easy Installation Techniques Using Pellet Fuel

The introduction of pellet fuel has been revolutionizing the way people heat their homes. Pellets are made from renewable sources such as wood, sawdust, and other biomass materials that are highly efficient and cost-effective for modern households. The ease of installation techniques using pellet fuel makes it a great choice for many homeowners looking to save money on their energy bills. In this article, we will discuss how easy it is to install a pellet stove in your home and what benefits you can expect when you make the switch.

Pellet stoves offer an incredibly easy installation process, especially compared to traditional gas or electric heating systems. All that is required is a chimney flue or vent pipe that meets local building codes; no additional framing or complicated wiring jobs are necessary. This makes them suitable even for small spaces like apartments and mobile homes where space constraints may be an issue. Additionally, many newer models come with self-cleaning features which means less maintenance work for the homeowner and greater efficiency all around.

When it comes to buying pellets, there are several options available depending on what type of fuel you prefer and how much heat output you need for your space. Hardwood pellets give off a pleasant smell while softwood pellets burn cleaner and more efficiently but produce less heat output than hardwoods do. Either way, they both provide significant savings over traditional fuels like oil or gas thanks to their high-efficiency rating – up to 90% in some cases!

Benefits of Going With Pellets

One of the biggest advantages of choosing pellet fuel is its eco-friendliness compared to other fossil fuels like coal or natural gas. Because they’re made from renewable resources like sawdust and wood chips, they don’t release harmful emissions into the atmosphere like other sources of energy do. This helps reduce air pollution while still providing enough warmth to keep your family comfortable during cold winter months – something everyone can appreciate!

Pellets are also very affordable compared to other forms of energy, with prices ranging from just $3-$10 per 40lb bag, depending on the type of pellet you choose (hardwood vs softwood). This means you can save hundreds of dollars a year on your heating bills without sacrificing the comfort of your home! Finally, because these stoves are relatively low maintenance compared to other types of heating, you won’t have to worry about costly repair bills or regular maintenance either – making them ideal for budget-conscious families who want reliable warmth without breaking the bank every month

Installation tips for your pellet stove  

As with any major purchase or appliance installation project, there are certain safety precautions that must be taken when installing a pellet stove in your home. The first step should always be to consult your local building regulations, as different areas may have specific requirements that need to be followed – this could include obtaining permits prior to starting construction, so make sure everything is properly documented before proceeding! Once these steps have been taken, it’s time to start the actual installation process:

1) Choose a location –

it’s important that the room you choose is well-ventilated, as this will help improve overall performance levels; windowsills tend not to work well due to draughts coming through them, so consider another area if possible (e.g. a corner away from windows).  Also, make sure there is enough space between nearby walls/objects so that nothing gets too hot during use as this could lead to potential fire hazards down the line!

2) Secure the mounting platform –

Before mounting anything to floor/wall surfaces, make sure everything is level; if necessary, use shims under the mounting platform until a stable position is achieved (this will help avoid potential problems later). Also, check that all screws/bolts used are tight before proceeding to the next step below.

3) Connecting the flue & chimney –

Depending on the type of model purchased, determine the appropriate size of flue pipes needed to connect the stove’s exhaust system to the outside (usually 4″ diameter is recommended, but double check manufacturer’s guidelines just in case!) After connecting the pipes together, make sure that sealants are applied to any joints to prevent leaks which could cause dangerous carbon monoxide build-up inside the house if left unchecked.

4) Install Ash Pan & Hopper Lid –

Most models come equipped with an ash pan bottom serving to catch ashes produced during burning pellets but if yours doesn’t then need to be purchased separately, mount it inside the lower section near the back side door opening easily accessible whenever needed to remove contents therein. Similarly, hopper lid should be securely fastened and placed over the feeder opening keeping mice out of pests while also maintaining optimum temperatures within the unit itself.

5) Test For Leaks & Finalise Setup –

Now time to test the entire setup make sure all connections are secure and tight and no gaps are present anywhere along seams that might allow fumes to escape notice any warning signs flashing display panel problem exists then need to be addressed immediately before continuing further tests.

Finally, once you are happy with the result, turn the dial to set the desired temperature, wait a few minutes, make sure it is working properly, wait a few minutes and then the job is officially done – congratulations!

Conclusion

Pellets offer an easy way for homeowners looking for an alternative form of energy at a fraction of the cost of traditional fossil fuels, without sacrificing indoor comfort during the cold winter months – plus the added bonus of environmental benefits! Installing one isn’t difficult either long as you follow the instructions outlined above properly taking note of the safety measures mentioned earlier thus ensuring minimum risk involved throughout the process altogether happy heating!

The Power of Gravity Bongs: How They Work

Gravity bongs are not your everyday contraption. Although they have been around since the 1990s, they remain one of the most highly sought-after smoking accessories to this day. But what makes them so popular? It’s all thanks to physics. From the science behind them to their effects, here is a comprehensive guide on gravity bongs and how they work.

What Are Gravity Bongs?

Gravity bongs are DIY devices typically used for smoking cannabis or other substances. As the name implies, they rely on gravity to pull smoke into the chamber in order to produce bigger hits than those achieved with traditional pipes or joints. Check their website for more information about them if you’re looking for an alternative way of consuming your favorite herb.

How Do Gravity Bongs Work?

In its simplest form, a gravity bong uses two separate containers filled with water – one larger than the other – as well as a bowl piece that holds cannabis buds and a downstem attached to it. The smaller container is placed inside the larger one, which is then filled up with water so that it submerges part of the downstem and bowl piece standing in it. When lit, smoke enters through the bowl piece and slowly fills up the small container until it’s released when lifted out of water. This process creates a vacuum pressure that sucks out all remaining smoke from both chambers; thus delivering an intense hit straight into your lungs!

Advantages of Gravity Bong Hits

A major advantage over using regular pipes or joints is that gravity bong hits don’t require much air exchange between puffs; making each hit smoother and easier on your lungs . Moreover, because there’s no need for combustion during inhalation due to its forced air system (i.e., gravity), users can experience cleaner tasting hits without any tar residue entering their lungs.

 What Materials Are Used To Make A Gravity Bong?

Most people opt for plastic bottles when creating their own homemade version but glass models are also available online if you’re looking for something more sophisticated and durable in terms of quality materials used . Additionally, some commercial models come equipped with additional features such as adjustable carburetors which allow users to control airflow while hitting it – ideal if you want full control over every puff!

 How To Clean And Maintain Your Gravity Bong

Regular cleaning is key when it comes to keeping your homemade version functioning properly without any unwanted build-up or bacteria growth inside its chambers . For optimal results, make sure you use hot water combined with a bit of rubbing alcohol after each use – also invest in replaceable parts like grommets or rubber seals whenever necessary! Additionally , never forget about basic safety precautions like covering any exposed electrical wires before plugging anything in near liquids .

 Final Thoughts

Gravity bongs may seem intimidating at first glance but once you get familiarized with how they work and what materials are needed for building one yourself , you’ll be able enjoy smooth , powerful hits from this amazing device ! Don’t forget about regular maintenance either – cleanliness is essential when dealing with any type of smoking apparatus!

7 easy techniques to use with your own hand casting kit

An easy and fun way to create personalised keepsakes is to make a hand casting kit. Whether it’s a hand casting kit for couples or just your own hands, the process is simple and straightforward. In this article, we’ll look at 7 techniques you can use with your hand casting kit to create lasting memories.

1. Preparing the moulds

When using a hand casting kit, the first step is to prepare the moulds that will be used to create your masterpiece. This involves mixing two materials in equal parts until they form a dough-like consistency. Once this is achieved, the mixture is kneaded and rolled out so that it fits perfectly into each mould, without any air bubbles or gaps.

2. Apply the release agent

Once you have prepared the moulds, the next step is to apply release agent to them before adding any of the other components of your hand casting kit. This will ensure that your finished product won’t stick or damage the structure or design of the mould when it comes time to remove it. For best results, use a release agent specifically designed for use with resin or polymer clay projects, as these are the most effective for creating durable casts and precise detail work.

3. Place the item in the mould

The next step is to place the item you wish to cast in one of the prepared moulds – taking care not to take up too much space as this could lead to distortion or bubbling during the hardening process. If there are objects such as rings that need to be included in your cast design, place them in the mould before adding any more material. Once everything has been added, gently press down on each piece to ensure it lies flat against the bottom of the mould. Make sure that all parts are completely covered with material.

4 Cure the castings

Once all parts have been placed in the mould, allow the castings to sit undisturbed for several hours to allow them to set properly – normally around 24 hours depending on humidity. During the curing period the temperature should be closely monitored as too hot or too cold an environment can slow down the curing process resulting in longer curing times which may affect the final result.

5 Removing castings from moulds

When sufficient time has elapsed, carefully remove the castings from their respective moulds by pulling the edges away from the surface and gently lifting the top layer until the entire piece comes out easily. Be careful not to break any of the castings by using too much force when removing.

6 Finishing touches

Once the pieces have been removed from their moulds, finishing touches can be applied, such as sanding down sharp edges, removing excess material if necessary (depending on the desired aesthetic), adding colour, glazing, etc. Once these steps have been completed, leave the creations to dry again overnight, monitoring the temperature throughout the day if possible, before proceeding to the final stage: framing!

7 Framing & Displaying

Depending on the type of project you have created with the Hand Casting Kits, you will need to find suitable frames, display cases, wall pieces, etc. – The possibilities are endless! However, always remember to consider conservation when choosing materials and display products, as exposure to certain elements (such as UV light) over a long period of time can potentially fade colours, stain surfaces, etc. and cause the artwork to deteriorate over time.

Using these 7 techniques with your own Hand Casting Kit will result in beautiful masterpieces that can be enjoyed for years to come! So get creative and start creating today!