
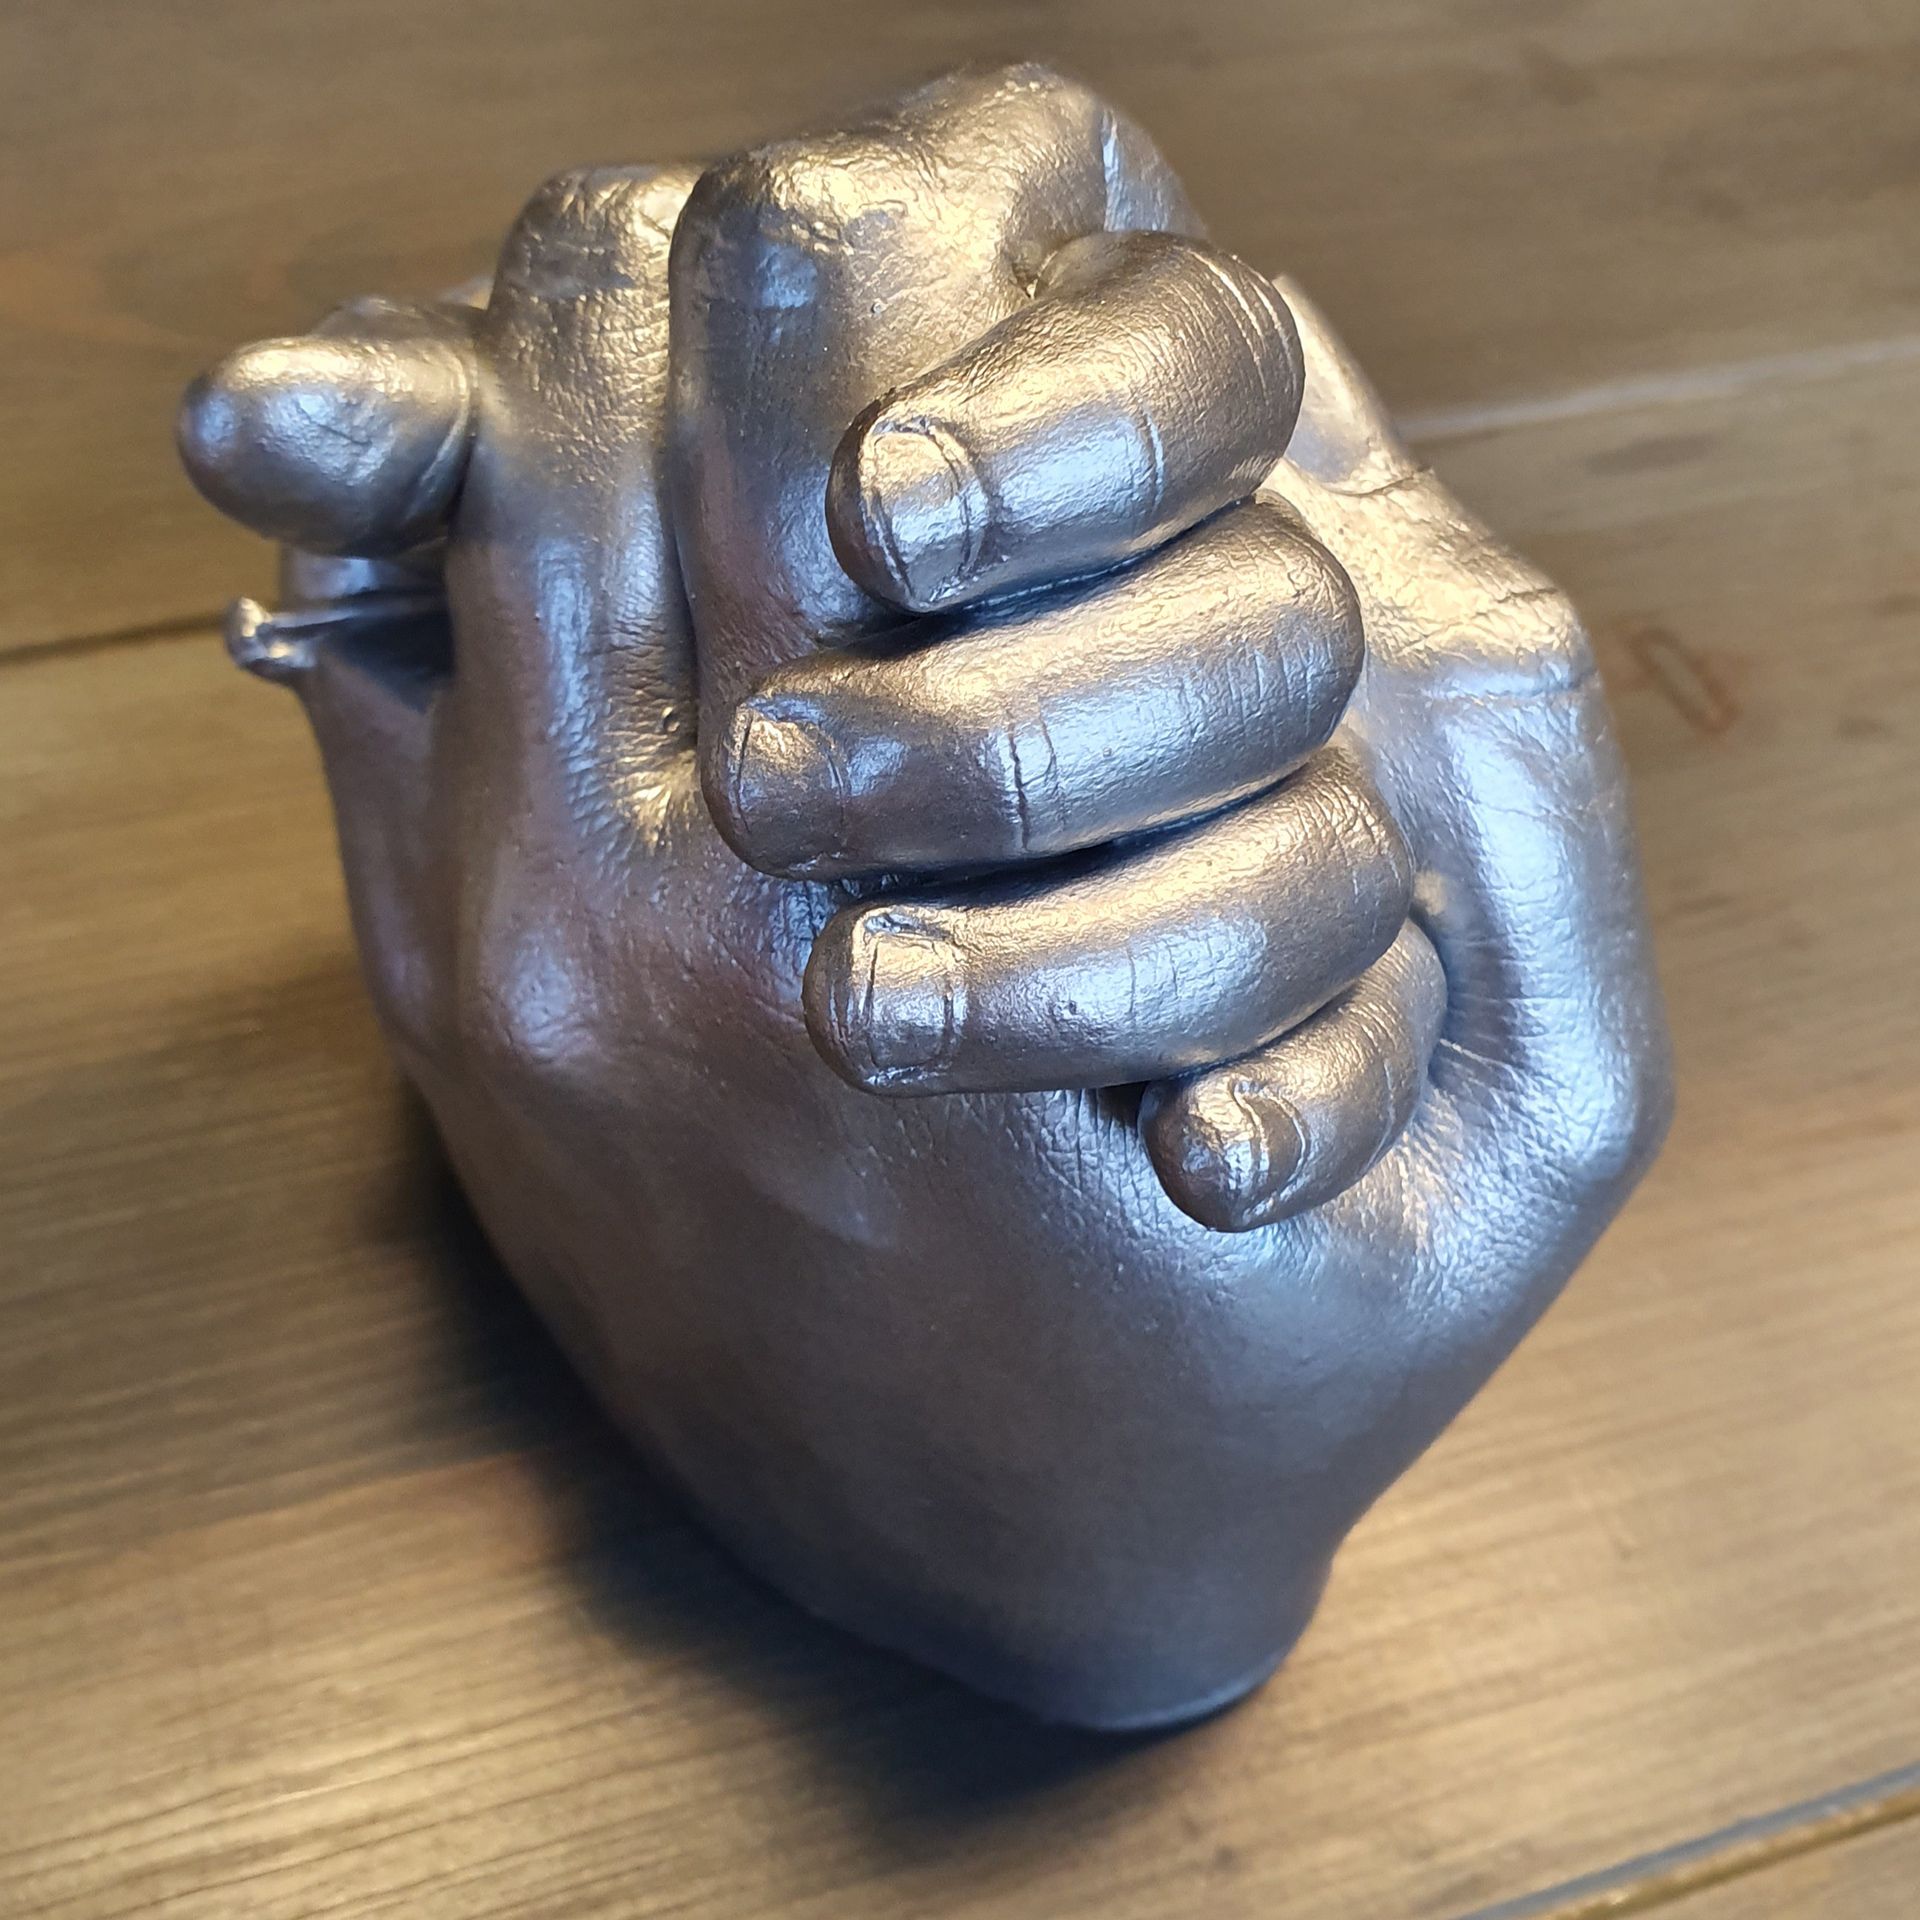
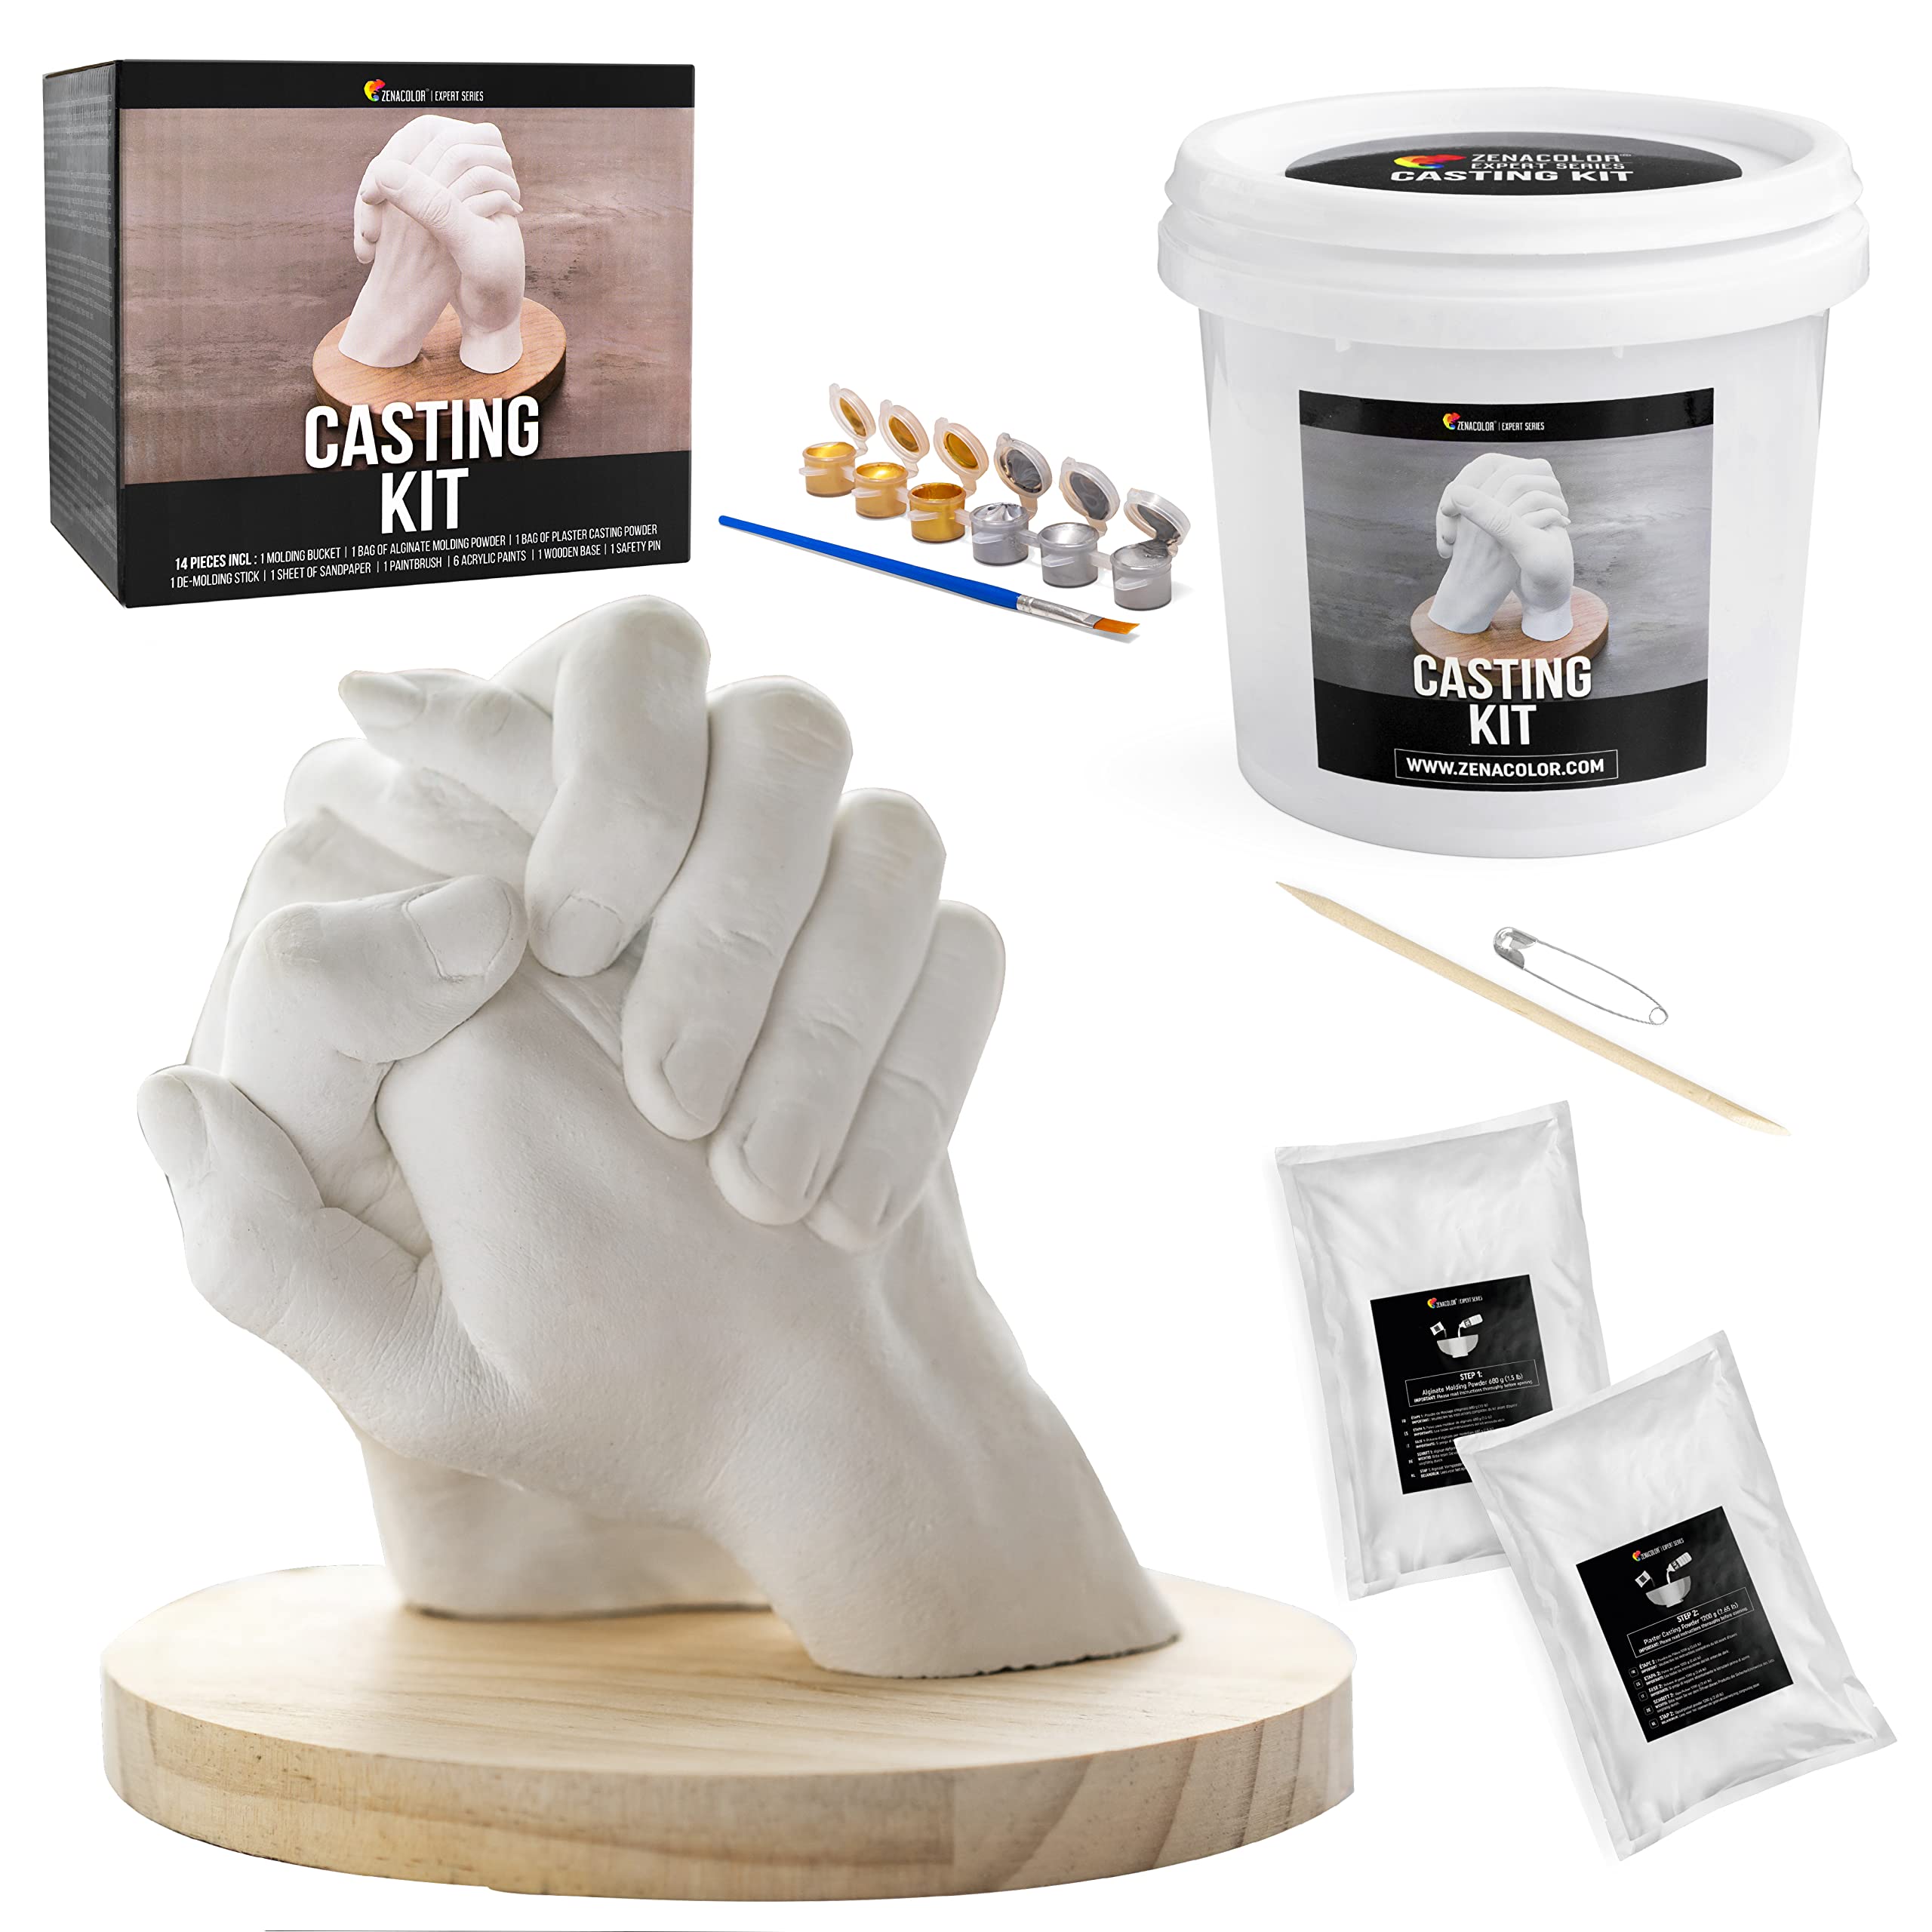
An easy and fun way to create personalised keepsakes is to make a hand casting kit. Whether it’s a hand casting kit for couples or just your own hands, the process is simple and straightforward. In this article, we’ll look at 7 techniques you can use with your hand casting kit to create lasting memories.
1. Preparing the moulds
When using a hand casting kit, the first step is to prepare the moulds that will be used to create your masterpiece. This involves mixing two materials in equal parts until they form a dough-like consistency. Once this is achieved, the mixture is kneaded and rolled out so that it fits perfectly into each mould, without any air bubbles or gaps.
2. Apply the release agent
Once you have prepared the moulds, the next step is to apply release agent to them before adding any of the other components of your hand casting kit. This will ensure that your finished product won’t stick or damage the structure or design of the mould when it comes time to remove it. For best results, use a release agent specifically designed for use with resin or polymer clay projects, as these are the most effective for creating durable casts and precise detail work.
3. Place the item in the mould
The next step is to place the item you wish to cast in one of the prepared moulds – taking care not to take up too much space as this could lead to distortion or bubbling during the hardening process. If there are objects such as rings that need to be included in your cast design, place them in the mould before adding any more material. Once everything has been added, gently press down on each piece to ensure it lies flat against the bottom of the mould. Make sure that all parts are completely covered with material.
4 Cure the castings
Once all parts have been placed in the mould, allow the castings to sit undisturbed for several hours to allow them to set properly – normally around 24 hours depending on humidity. During the curing period the temperature should be closely monitored as too hot or too cold an environment can slow down the curing process resulting in longer curing times which may affect the final result.
5 Removing castings from moulds
When sufficient time has elapsed, carefully remove the castings from their respective moulds by pulling the edges away from the surface and gently lifting the top layer until the entire piece comes out easily. Be careful not to break any of the castings by using too much force when removing.
6 Finishing touches
Once the pieces have been removed from their moulds, finishing touches can be applied, such as sanding down sharp edges, removing excess material if necessary (depending on the desired aesthetic), adding colour, glazing, etc. Once these steps have been completed, leave the creations to dry again overnight, monitoring the temperature throughout the day if possible, before proceeding to the final stage: framing!
7 Framing & Displaying
Depending on the type of project you have created with the Hand Casting Kits, you will need to find suitable frames, display cases, wall pieces, etc. – The possibilities are endless! However, always remember to consider conservation when choosing materials and display products, as exposure to certain elements (such as UV light) over a long period of time can potentially fade colours, stain surfaces, etc. and cause the artwork to deteriorate over time.
Using these 7 techniques with your own Hand Casting Kit will result in beautiful masterpieces that can be enjoyed for years to come! So get creative and start creating today!


