
Installing a swimming pool heat pump can be a complicated process. But with the right guidance, it doesn’t have to be overwhelming. Here are 7 essential steps for a successful Swimming pool heat pump install:
1. Choose The Right Location:
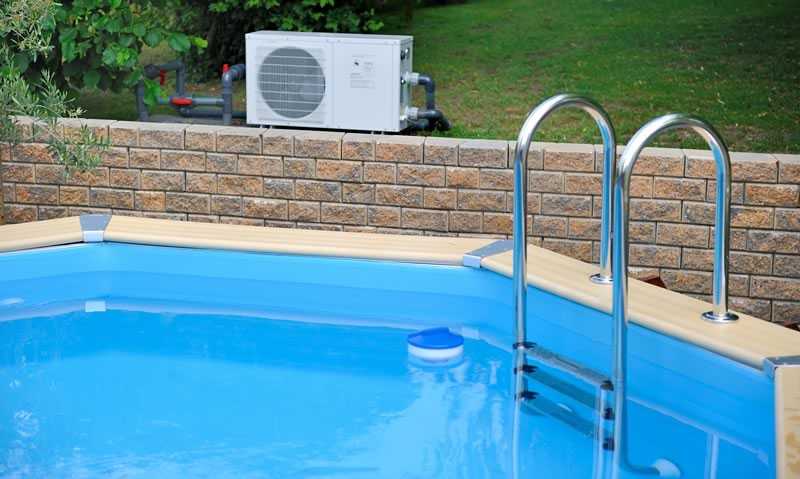
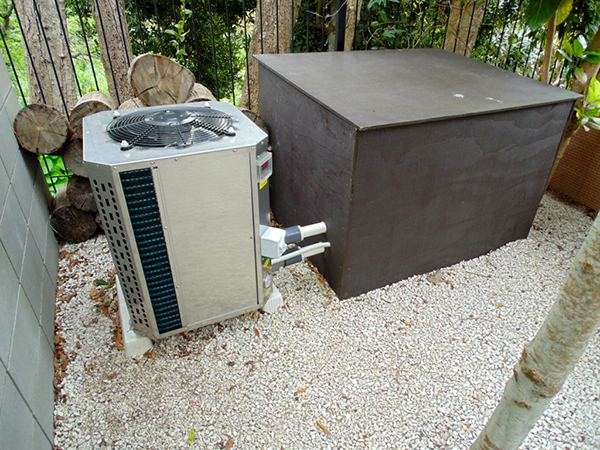
When selecting a location for your swimming pool heat pump, choose an area sheltered from wind and rain. Additionally, pick an area that is not prone to standing water or flooding in order to avoid any potential damage. Choosing an area where you won’t need to move the unit during the pool season is also important.
2. Prepare The Foundation:
Once you have chosen your desired location, you must prepare the foundation for your swimming pool heat pump installation. Make sure that the area is clear of debris and vegetation before laying down concrete or paving stones to support your unit while in use. If applicable, ensure that the base has been adequately ventilated to not trap moisture within and around the appliance.
3. Set Up Electrical Connections:
Before making the electrical connections, check whether you need a permit from the local authorities before proceeding with the installation of the pool heat pump system. After obtaining a permit, if required, connect all necessary cables and wiring according to the manufacturer’s instructions and the safety regulations of local authorities or regulatory bodies such as CSA (Canada Safety Association). Ensure that all electrical connections are properly secured before energising the equipment.
4 .Install the heat pump unit:
The next step is to install the heat pump unit itself! Carefully follow the manufacturer’s instructions when installing the unit on its intended foundation structure (concrete slab / paving stone). Once installed, ensure that there are no gaps between components that could cause air leaks later when the unit is operating – air leaks can reduce heating efficiency by up to 30%. Use foam sealant/insulation tape between joints for best results!
5. Connect pipework and components:
Using compatible pipework suitable for both domestic hot water systems and pools/spas, connect the inlet/outlet pipes of each component, including filter housing/pump station/sanitizer etc..to form a single circuit using appropriate length hoses/pipework – this will help to create optimum flow rate/pressure which is key to efficient operation of the overall system – remember to check applicable pressure ratings when connecting components together here!
6.Fill system with water & test:
Now it’s time to fill your system with fresh water! Follow the manufacturer’s instructions when doing this – some manufacturers also recommend adding corrosion inhibitor at this stage – this will help protect internal parts such as metals inside pumps etc… from the damaging effects caused by hard water over time… After filling, test run the system at low speed first and then gradually increase the speed until the pre-set temperature is reached inside the heated body of water (pool / spa)… If you are happy with the results – Your Done!
7 . Service & Maintenance:
Last but not least, don’t forget regular service/maintenance checks throughout the year! Whilst the majority of modern models today are designed with built in self-diagnostic features meaning they will notify the user if anything is not working correctly – Regular service checks allow trained professionals to identify any minor issues early on before they become major problems leading to costly repairs down the line – This not only helps keep running costs lower over time but also ensures safe operation of the system throughout its life cycle!


