
The introduction of pellet fuel has been revolutionizing the way people heat their homes. Pellets are made from renewable sources such as wood, sawdust, and other biomass materials that are highly efficient and cost-effective for modern households. The ease of installation techniques using pellet fuel makes it a great choice for many homeowners looking to save money on their energy bills. In this article, we will discuss how easy it is to install a pellet stove in your home and what benefits you can expect when you make the switch.
Pellet stoves offer an incredibly easy installation process, especially compared to traditional gas or electric heating systems. All that is required is a chimney flue or vent pipe that meets local building codes; no additional framing or complicated wiring jobs are necessary. This makes them suitable even for small spaces like apartments and mobile homes where space constraints may be an issue. Additionally, many newer models come with self-cleaning features which means less maintenance work for the homeowner and greater efficiency all around.
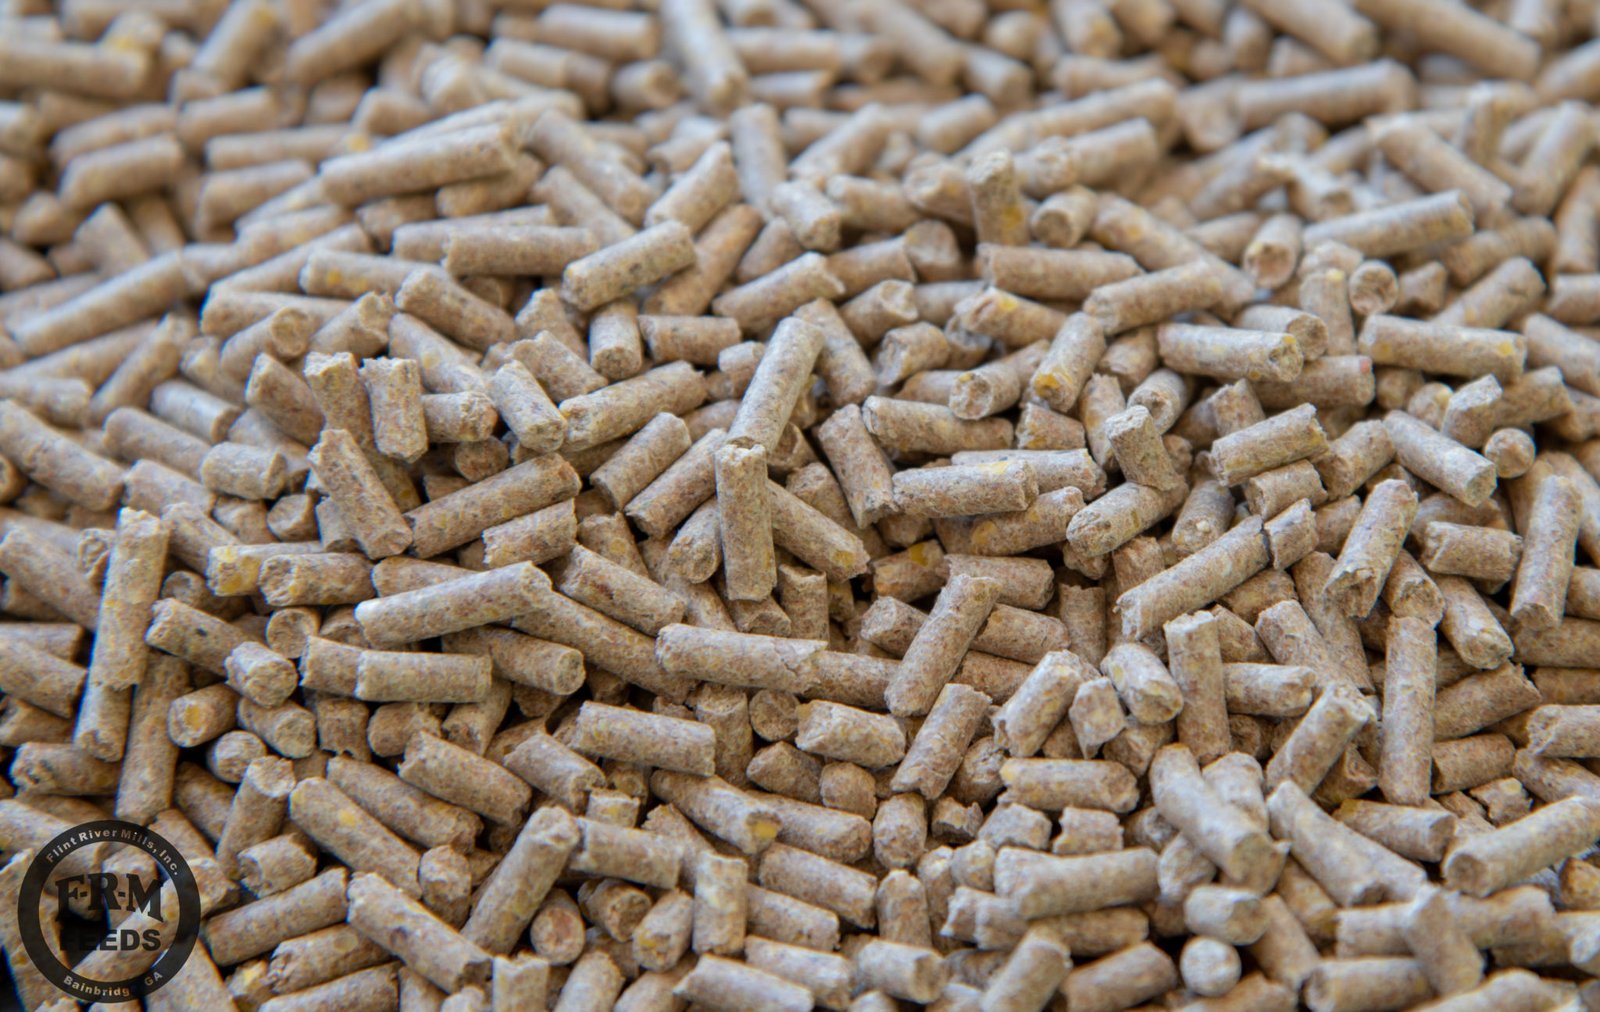
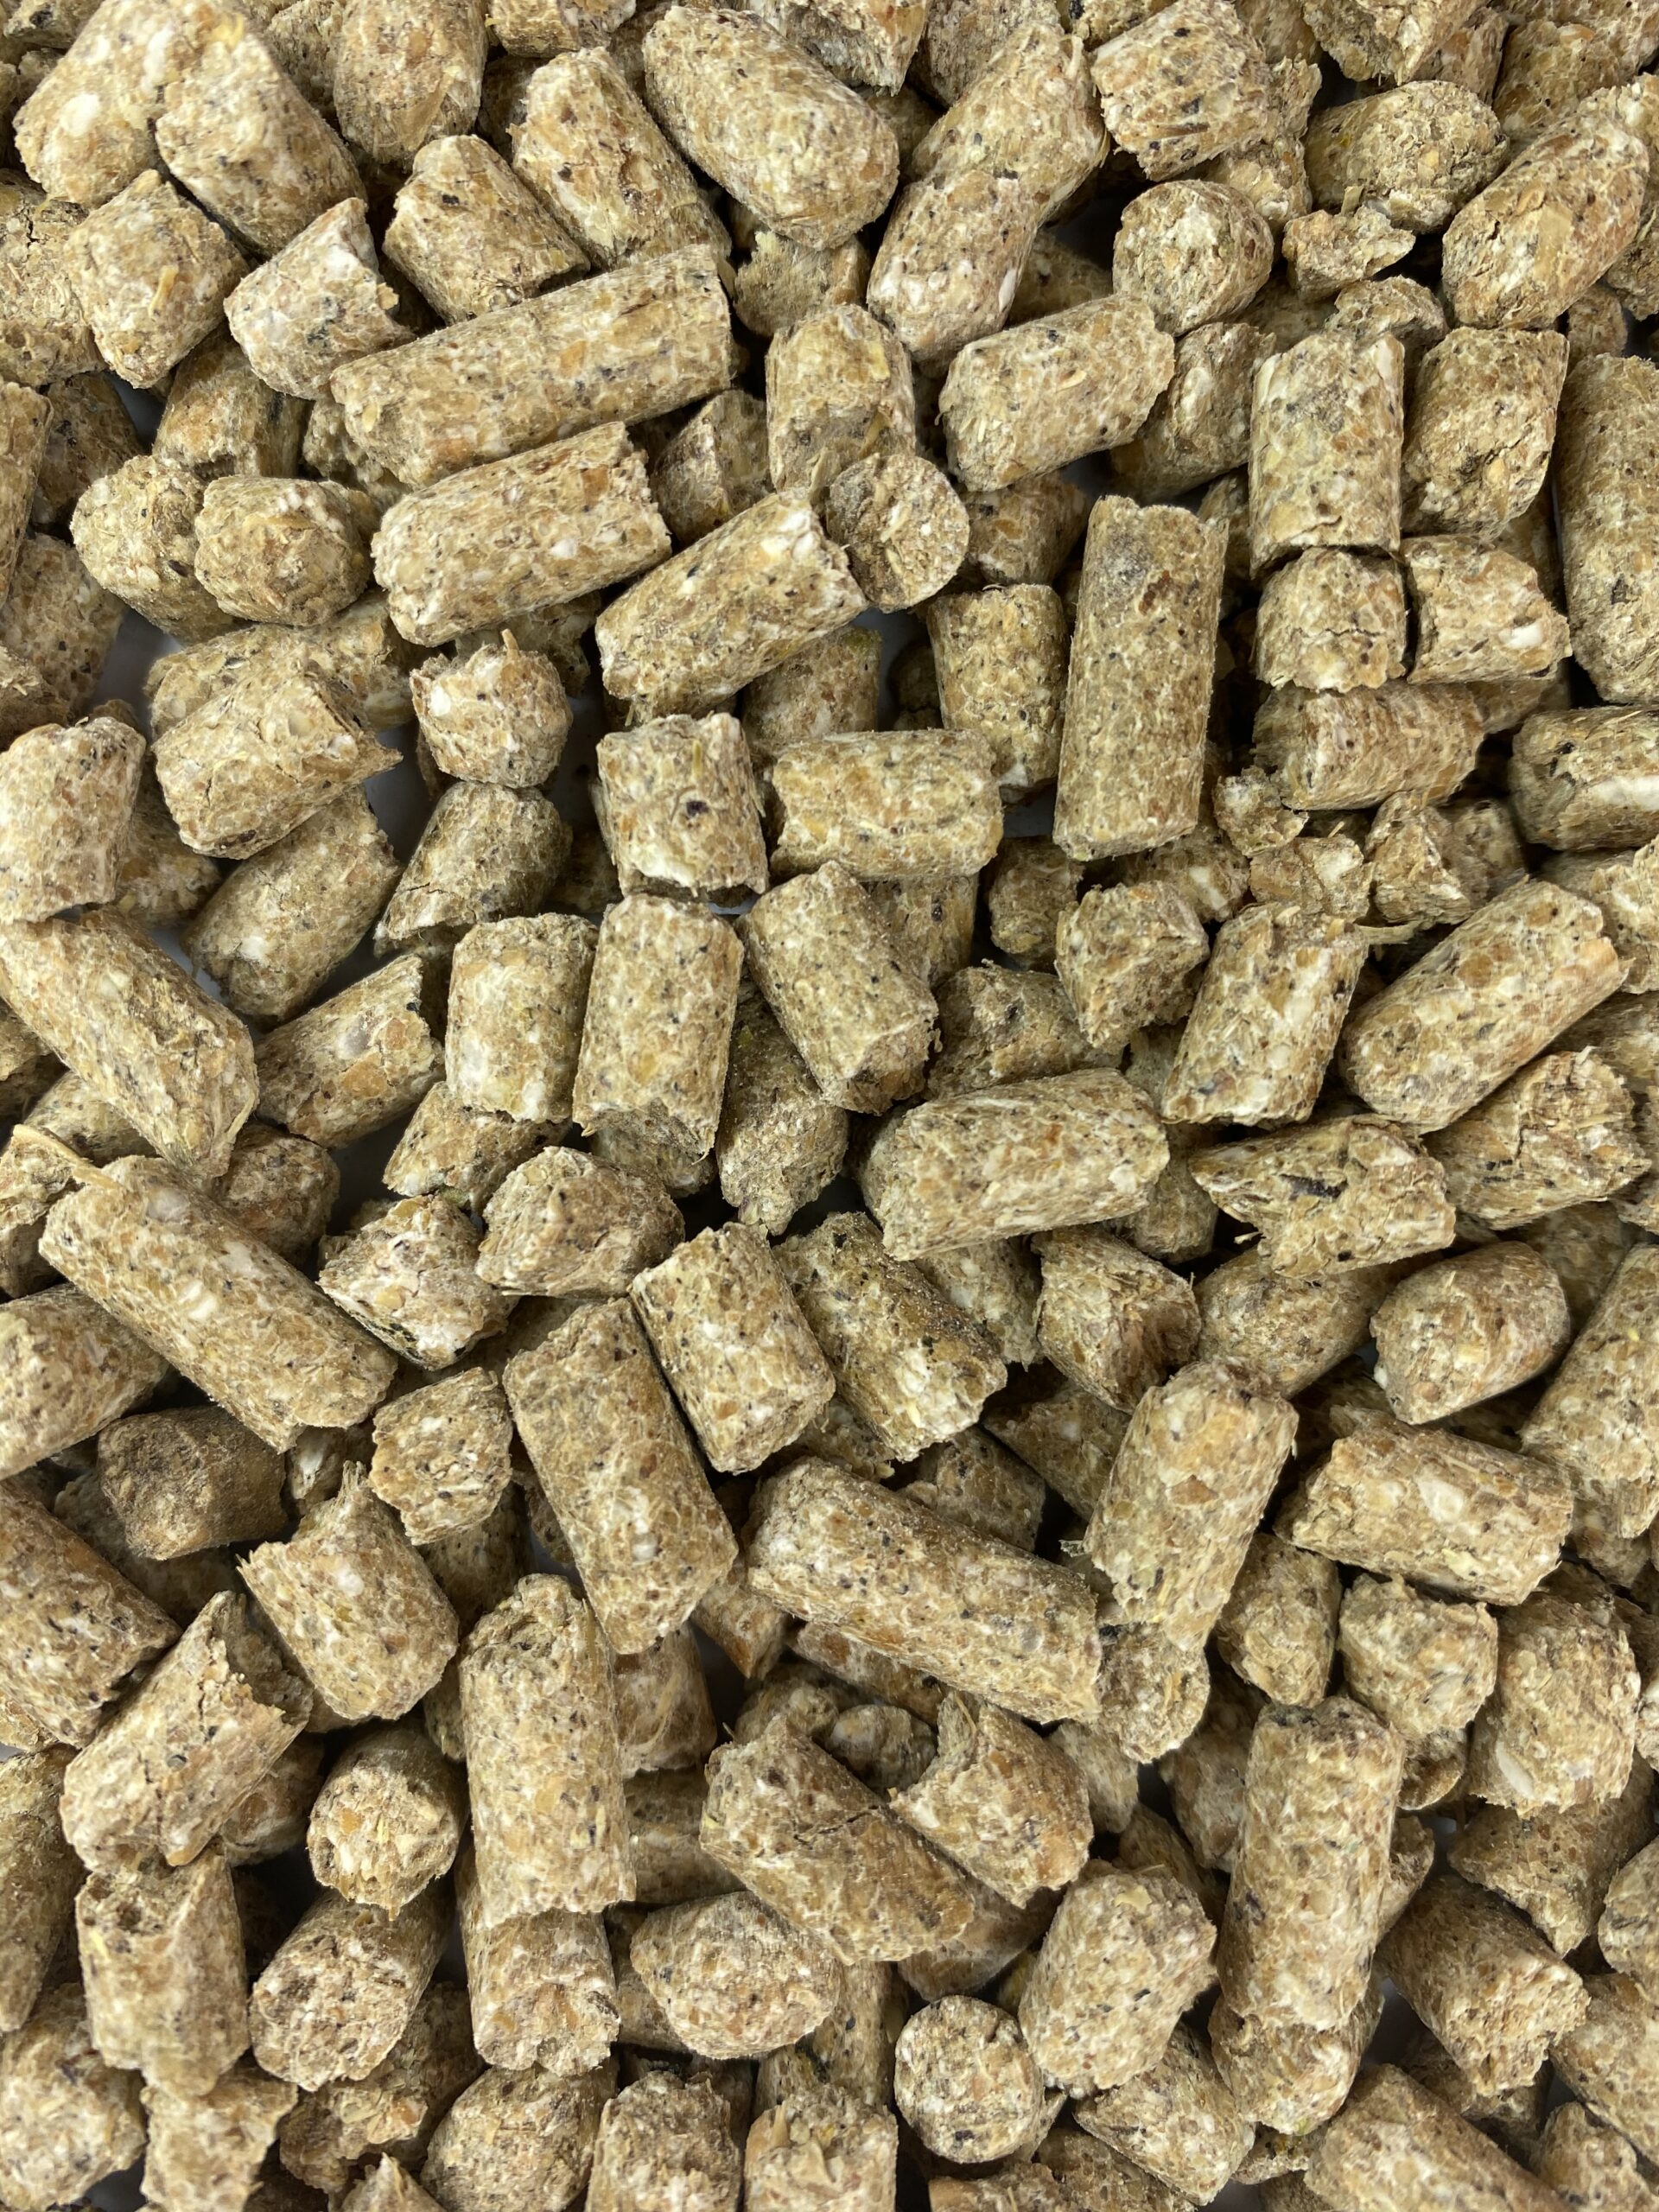
When it comes to buying pellets, there are several options available depending on what type of fuel you prefer and how much heat output you need for your space. Hardwood pellets give off a pleasant smell while softwood pellets burn cleaner and more efficiently but produce less heat output than hardwoods do. Either way, they both provide significant savings over traditional fuels like oil or gas thanks to their high-efficiency rating – up to 90% in some cases!
Benefits of Going With Pellets
One of the biggest advantages of choosing pellet fuel is its eco-friendliness compared to other fossil fuels like coal or natural gas. Because they’re made from renewable resources like sawdust and wood chips, they don’t release harmful emissions into the atmosphere like other sources of energy do. This helps reduce air pollution while still providing enough warmth to keep your family comfortable during cold winter months – something everyone can appreciate!
Pellets are also very affordable compared to other forms of energy, with prices ranging from just $3-$10 per 40lb bag, depending on the type of pellet you choose (hardwood vs softwood). This means you can save hundreds of dollars a year on your heating bills without sacrificing the comfort of your home! Finally, because these stoves are relatively low maintenance compared to other types of heating, you won’t have to worry about costly repair bills or regular maintenance either – making them ideal for budget-conscious families who want reliable warmth without breaking the bank every month
Installation tips for your pellet stove
As with any major purchase or appliance installation project, there are certain safety precautions that must be taken when installing a pellet stove in your home. The first step should always be to consult your local building regulations, as different areas may have specific requirements that need to be followed – this could include obtaining permits prior to starting construction, so make sure everything is properly documented before proceeding! Once these steps have been taken, it’s time to start the actual installation process:
1) Choose a location –
it’s important that the room you choose is well-ventilated, as this will help improve overall performance levels; windowsills tend not to work well due to draughts coming through them, so consider another area if possible (e.g. a corner away from windows). Also, make sure there is enough space between nearby walls/objects so that nothing gets too hot during use as this could lead to potential fire hazards down the line!
2) Secure the mounting platform –
Before mounting anything to floor/wall surfaces, make sure everything is level; if necessary, use shims under the mounting platform until a stable position is achieved (this will help avoid potential problems later). Also, check that all screws/bolts used are tight before proceeding to the next step below.
3) Connecting the flue & chimney –
Depending on the type of model purchased, determine the appropriate size of flue pipes needed to connect the stove’s exhaust system to the outside (usually 4″ diameter is recommended, but double check manufacturer’s guidelines just in case!) After connecting the pipes together, make sure that sealants are applied to any joints to prevent leaks which could cause dangerous carbon monoxide build-up inside the house if left unchecked.
4) Install Ash Pan & Hopper Lid –
Most models come equipped with an ash pan bottom serving to catch ashes produced during burning pellets but if yours doesn’t then need to be purchased separately, mount it inside the lower section near the back side door opening easily accessible whenever needed to remove contents therein. Similarly, hopper lid should be securely fastened and placed over the feeder opening keeping mice out of pests while also maintaining optimum temperatures within the unit itself.
5) Test For Leaks & Finalise Setup –
Now time to test the entire setup make sure all connections are secure and tight and no gaps are present anywhere along seams that might allow fumes to escape notice any warning signs flashing display panel problem exists then need to be addressed immediately before continuing further tests.
Finally, once you are happy with the result, turn the dial to set the desired temperature, wait a few minutes, make sure it is working properly, wait a few minutes and then the job is officially done – congratulations!
Conclusion
Pellets offer an easy way for homeowners looking for an alternative form of energy at a fraction of the cost of traditional fossil fuels, without sacrificing indoor comfort during the cold winter months – plus the added bonus of environmental benefits! Installing one isn’t difficult either long as you follow the instructions outlined above properly taking note of the safety measures mentioned earlier thus ensuring minimum risk involved throughout the process altogether happy heating!


