
Mold removal is a necessary and important step in protecting your home or business from the harmful effects of mold. Mold removal NJ can be done safely and effectively by professionals with knowledge and experience in dealing with mold infestations. The process involves identifying the source of the moisture, removing all visible sources of mold growth, and properly cleaning and sanitizing contaminated surfaces. In this article, we will discuss the basics of effective mold removal NJ so that you can protect your property from further damage caused by the presence of dangerous fungi.
What Is Mold?
Mold is a type of fungus that grows on damp surfaces like walls, ceilings, floors, insulation, carpets, materials within furniture, and other organic materials. Although it’s commonly found indoors during humid weather conditions or when there’s been water damage due to flooding or plumbing issues; it can also be found outdoors as well. There are numerous types of molds found both indoors and outdoors including Aspergillus niger (black mold), Penicillium chrysogenum (blue-green mold), Stachybotrys chartarum (toxic black mold), Alternaria alternata (brown-black patches) among many others.

Why Is It Important to Remove Mold?
Mold removal NJ is incredibly important because it helps prevent further health problems caused by exposure to dangerous spores which can cause allergies, respiratory problems such as asthma attacks as well as other serious illnesses if left unchecked. Additionally, prolonged exposure to certain types of molds has been linked with neurological disorders such as depression and anxiety while some species have even been known to produce carcinogenic mycotoxins which may lead to cancer if ingested over long periods of time. Therefore it’s crucial to get rid of any visible signs before they spread further into other areas within your home or office space.
How do you identify a mold infestation?
In order to identify whether or not you have a mold problem in your home; one must look for telltale signs such as discoloration on walls/floors/ceilings; musty smells coming from hidden spaces like attics or basements; noticeable patches on walls/floors/ceilings etc. which often appear greenish-black in color; an increase in humidity levels inside the house; increased respiratory symptoms like coughing & sneezing among family members living in the same household etc. So if you notice any one or a combination of these signs then chances are that you might need professional help for proper mold remediation services.
What are the steps involved in mold remediation?
Once an infestation has been identified, there are several steps involved in achieving complete removal:
1) Determine the source of the moisture:
Before embarking on any sort of action plan to eliminate existing colonies, it is vital to find out what caused them in the first place. This could include leaking pipes, condensation due to excessive humidity, flood damage etc. Once identified, it’s essential that water sources are repaired immediately to prevent future growth.
2) Locate all visible sources of mold growth:
The next step is to locate all visible areas where colonies are growing, either directly by physical inspection or using infrared scanning technology. These areas should then be marked off so that specialist equipment used at later stages does not miss them.
3) Containment of the area:
Containment measures should be taken before the clean-up process begins. This includes sealing off the affected area with plastic sheeting and tape and setting up negative pressure machines near entrances to prevent spores from spreading throughout the rest house while work is being carried out.
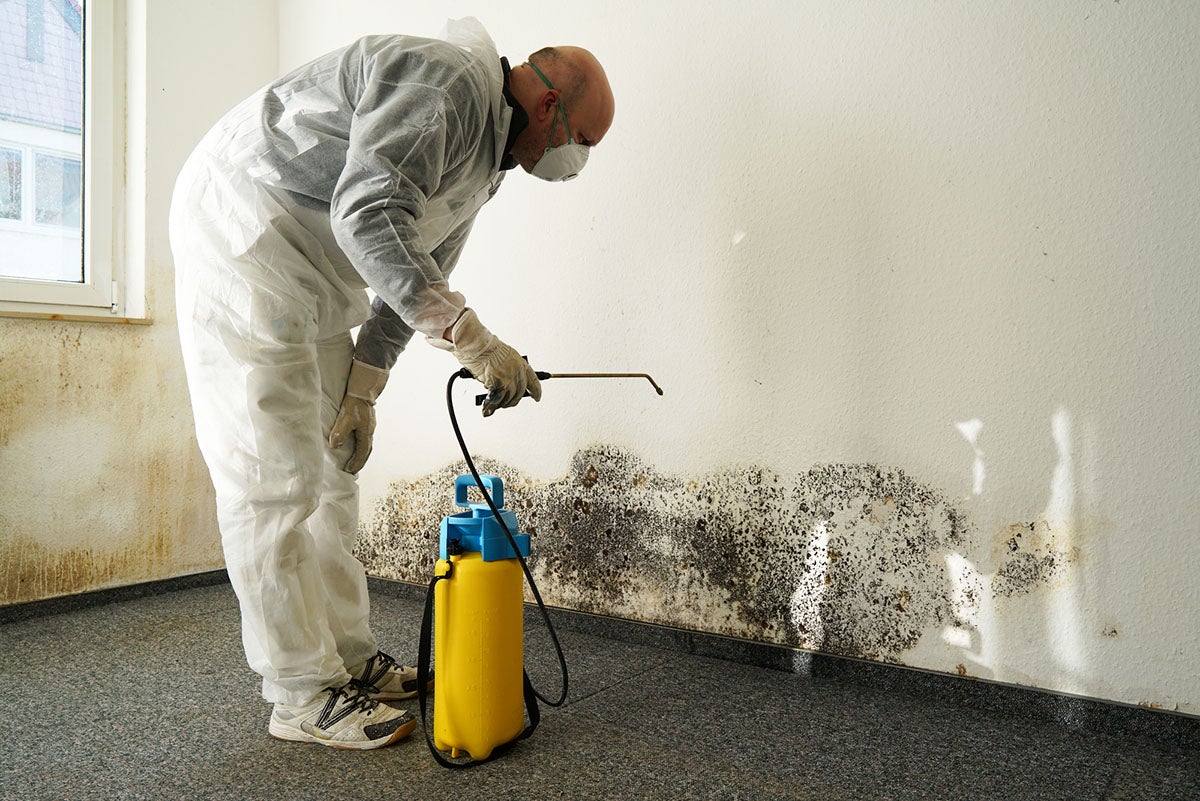
4) Remove all visible sources of growth:
Once containment is complete & all visible sources have been located, the next step would be to physically remove them using appropriate techniques depending on the material being handled, e.g. wet vacuuming carpets / wiping down hard surfaces etc. Anything removed should then be placed directly into sealed bags to prevent spores from escaping during the transport process itself, thus minimizing potential contamination elsewhere!
5) Clean & disinfect affected areas properly:
The cleaning part requires special attention, as it’s not enough to simply wipe the surface – contaminated areas need to be scrubbed thoroughly with a diluted bleach solution, followed by another round of disinfectant spraying to ensure all traces are completely killed off before anyone is allowed back into the premises!
6) Check for hidden areas and reapplication:
After the initial clean-up, check for areas missed the first time around, especially those behind walls where colonies may still be present undetected! If any are found, repeat the extraction process until you’re sure nothing has been left behind, otherwise, all your efforts will have been in vain!
7) Install dehumidifiers to prevent future growth:
Last but not the least, installing dehumidifiers throughout the building will help reduce the overall moisture levels, making the environment less conducive to the formation of new colonies after everything else has been successfully completed!
Conclusion
Eliminating mold safely requires having the right tools & knowledge at your disposal, therefore seeking help from certified professionals is always preferred whenever possible! Following the steps outlined above regularly goes a long way in keeping indoor air quality high, ensuring safety for all concerned!


