Category: Home Improvement

Designing a Home that Maximizes Space and Functionality

A home is more than just a place to live in. It’s where memories are made, and it should be an expression of your unique style and personality. To make sure that you get the most out of your space, it’s important to plan ahead for how you will design your home for maximum space and functionality. บริษัทรับสร้างบ้านโมเดิร์น has the expertise to help you bring this vision to life.

1. Understand Your Needs

The first step when designing a home is to understand the needs of everyone who will be living there. Think about what size house you need, how many bedrooms and bathrooms are necessary, whether or not there is an additional office area or hobby room needed if you want an open concept layout or separate rooms, etc. All these factors will affect the overall design and layout of the home so understanding them now can help create a better future outcome.

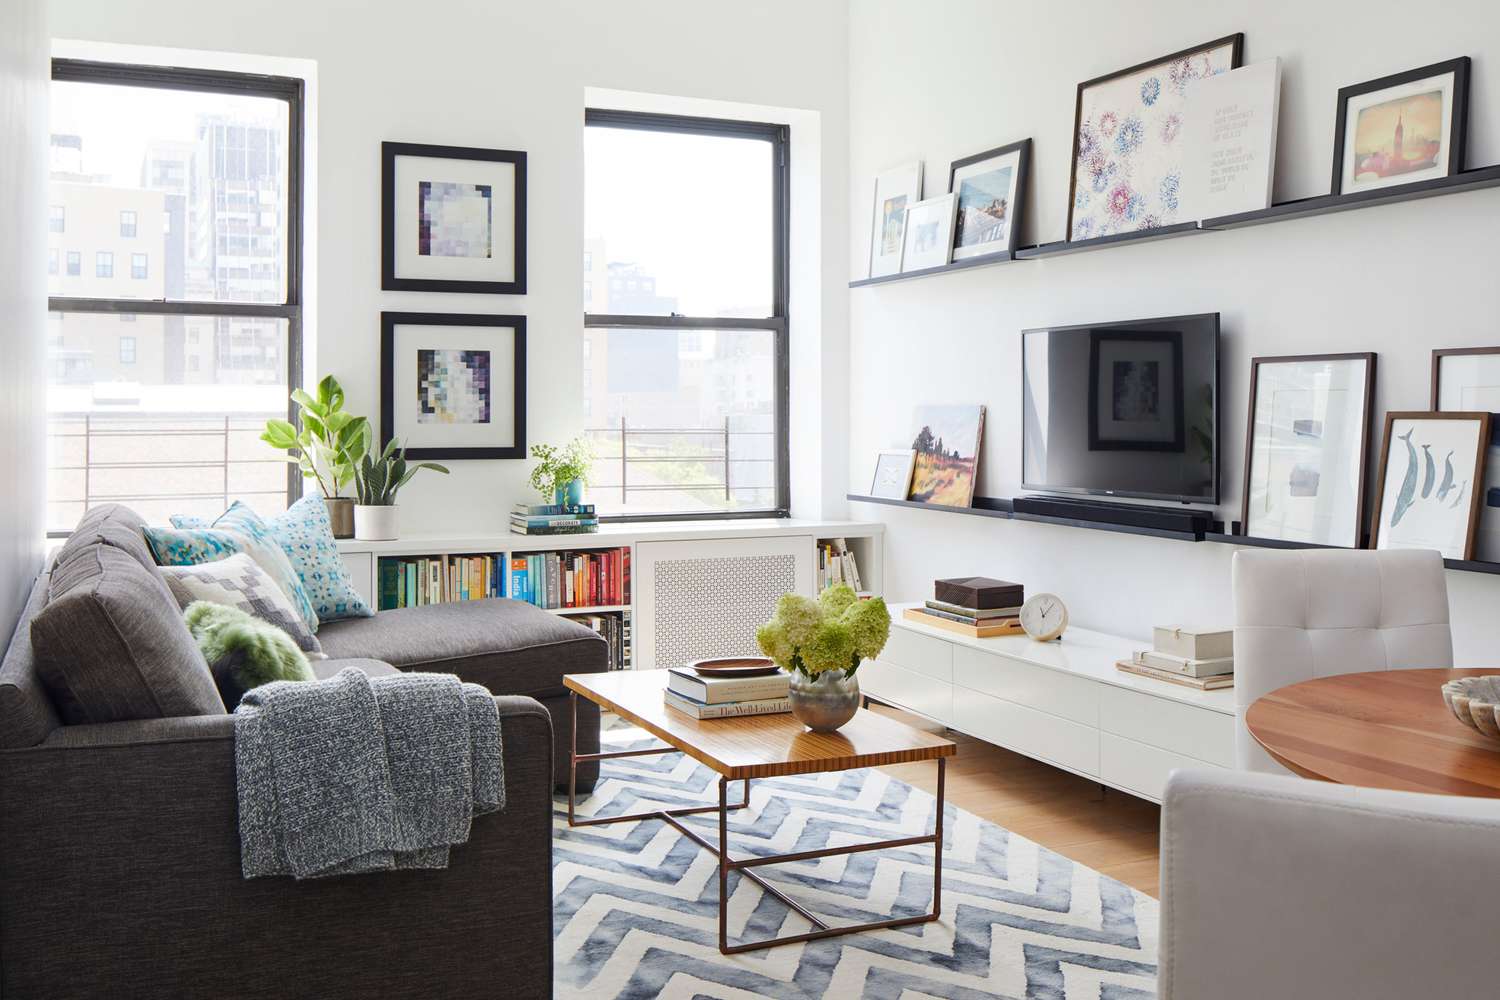
2. Utilize Every Inch of Space

Space efficiency is key when designing a home as every inch counts! Look at ways to maximize each room’s use by incorporating multi-functional furniture pieces such as ottomans with built-in storage compartments or shelves that double as desks. This type of furniture allows for more usable floor space while also providing extra storage opportunities which makes it perfect for smaller homes! Additionally, consider using vertical space to add shelving units on walls which can also help save floor space while still creating plenty of storage options.

3. Keep things flexible

When planning a new home design, it is important to have flexibility in the layout to allow for future changes. For example, try to avoid permanent walls between rooms if possible, as these can limit potential alterations in the long run, and instead opt for non-permanent partitions such as sliding doors or curtains, which offer more flexibility if needed later on! This way, even small changes such as rearranging furniture won’t require major rebuilding later on, saving both time and money!

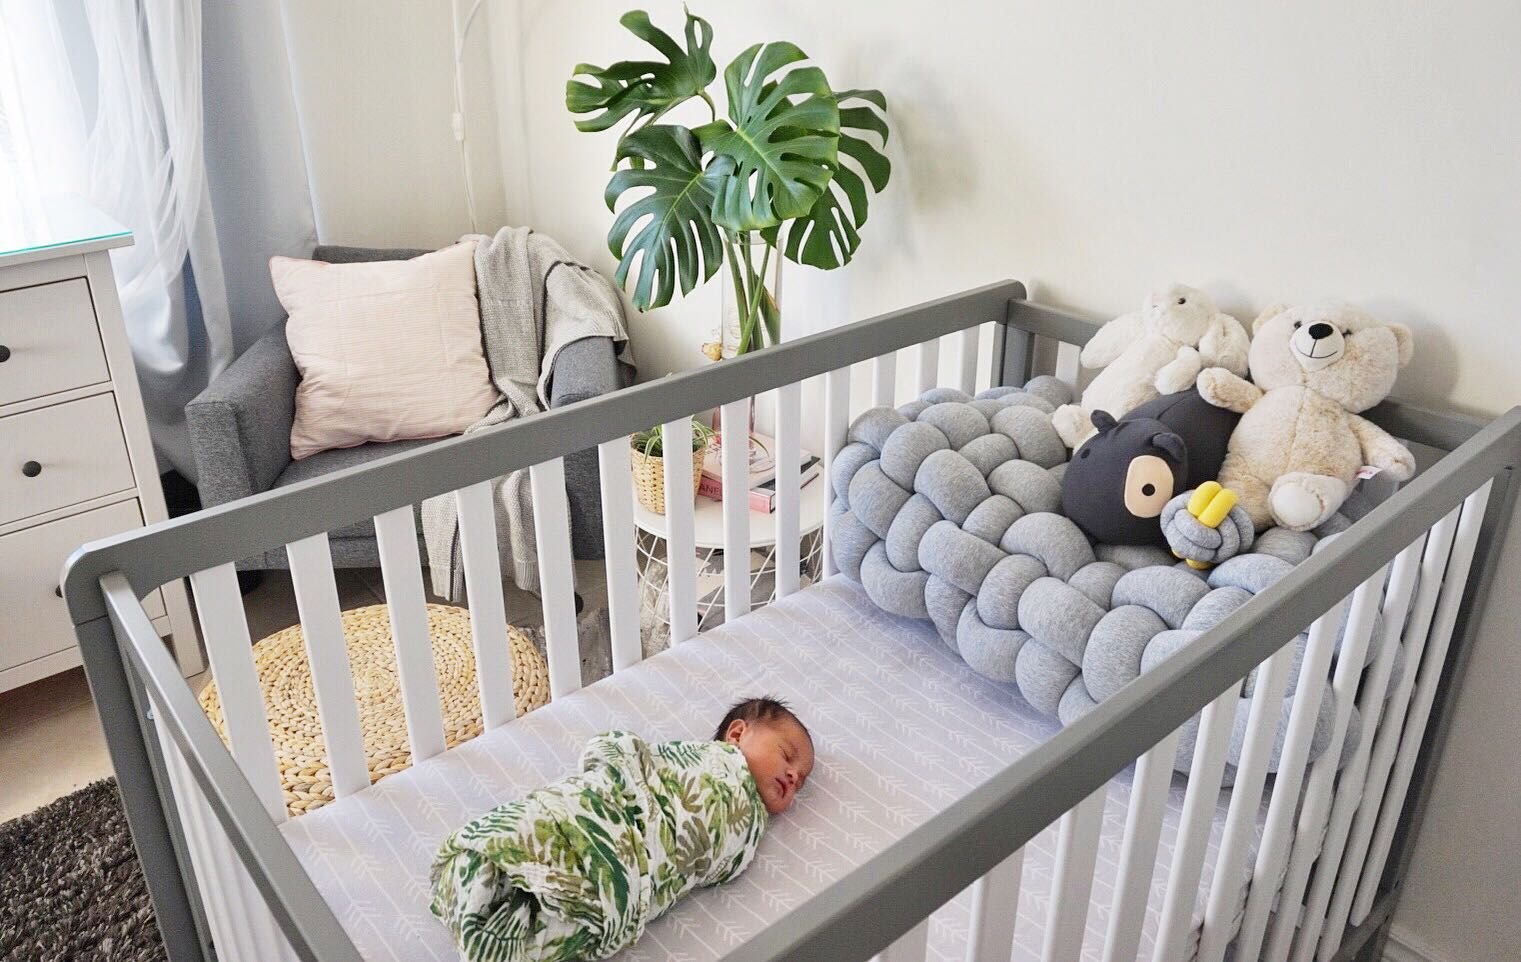
4. Focus on natural light

Good lighting makes all the difference when it comes to making any living space feel welcoming, so focus on incorporating natural light into your design plans wherever possible! Large windows are ideal, but if that’s not possible, look into skylights or sun tunnels, which can provide plenty of natural light without taking up too much wall space either inside or outside your new home! In addition, adding mirrors near windows can help reflect even more light around each room, making them appear larger than they really are without sacrificing any extra square footage from the actual window sizes themselves!

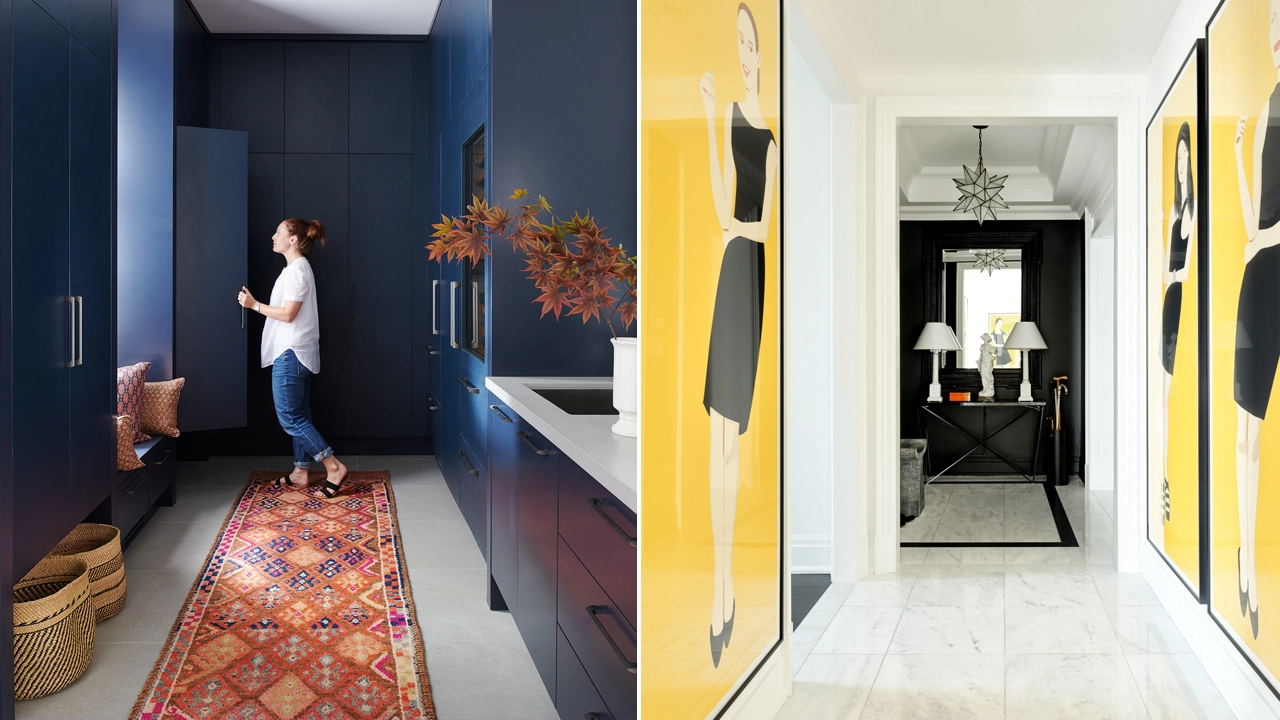
5 . Consider wall colors wisely

Choosing paint colors for each room may seem like one of those minor details, but it does have an impact on how large (or small) certain rooms can appear visually, due to their contrast with surrounding walls/furniture, etc, Ensuring that lighter shades such as whites and creams are used in common areas such as living rooms and kitchens will help to keep things feeling bright and airy – a must for any cozy abode! However, darker tones can be a great addition in bedrooms where you might want a more tranquil atmosphere away from outside distractions during the night hours, although covering entire walls is not recommended as this could end up making said rooms feel cramped instead!

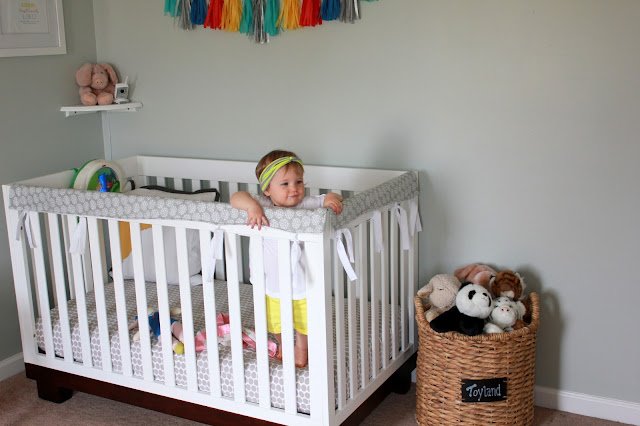
6 . Invest in smart storage solutions

Finally, investing in clever storage solutions is essential when trying to make even small spaces feel comfortable & clutter-free at all times! By using slimline cupboards & wardrobes along with baskets/bins under beds/couches etc. you’ll be able to easily store items while keeping them organized & accessible whenever needed! Bespoke wardrobes are also a great investment, allowing homeowners full control over their clothing/accessories collections, no matter how extensive they may be! And with modern builders, all these features come as standard, meaning less hassle & stress from having everything taken care of by professionals before moving into your own dream home!

7 . Hire professional help

Although do-it-yourself projects can certainly save some money upfront, most people find that hiring someone experienced in residential property designs yields much better results compared to DIY attempts; especially considering all the complexities involved in planning out successful homesteads nowadays! That being said, working alongside experts such as modern house-building companies can quickly turn dreams into reality thanks to years worth of knowledge gained prior regarding different types of architectures styles applicable today – enabling clients to receive the best possible advice to suit individual requirements exactly according to the specifications laid out at project outset!

8 . Have fun!

Finally, remember to have fun whilst designing your dream home; after all, the process should be enjoyed as a momentous occasion expectant homeowners look forward to completing the journey together soon enough, led by continual hard work and commitment en route to achieving shared goals!

Night-Night!: The Ultimate Guide to Children’s Cots

When it comes to outfitting a nursery for your little one, choosing the right võrevoodi (cot) should be at the top of your list. A good cot can provide comfort, safety, and convenience for both you and your child – making it an essential part of any new parent’s checklist. To help make this important decision easier, here is our ultimate guide to children’s cots.

Factors To Consider When Choosing A Cot 

Safety First 

Above all else, safety is the most important factor when picking out a cot for your infant or toddler. Make sure that the model you choose has been certified by an independent laboratory as meeting basic safety standards. Also look for features like adjustable sides with no more than a 6cm gap between slats, as well as stable and secure locking mechanisms on wheels (if included). 

Size matters   

When choosing a cot, you need to consider the size and shape of your nursery. You want something that will fit in well without taking up too much space, especially if there is another furniture in the room. Also, think about how long you will be using the cot; if you are planning on having more children, getting a larger option now could save you money down the line! 

Materials used  

Cots come in a variety of materials, from plastic to steel frames covered with foam padding or fabric linings such as cotton or polyester blends. Thicker foam mattresses offer better support, while natural fabrics such as cotton tend to be softer and more breathable for the hot summer months. Whatever material you choose, make sure it is durable enough to withstand regular washing and wear and tear over time. 

Comfort for your little one  

The ideal cot should provide comfort and support during sleep without restricting their movement or freedom – so finding a cot that can be adjusted in height as they grow is always useful! Look out for extras such as bed linen sets, mattress covers, mosquito nets, etc., which can add extra comfort when needed, but should still be removable when no longer needed. 

Style & design options    

These days there are endless style options when it comes to choosing a cot – from sleek modern designs with minimalist lines to traditional wooden models with intricate detailing, there really is something for everyone! If possible, try to find a design that coordinates with other pieces in the nursery; this will help create a cohesive theme throughout the baby’s room, without having to go overboard with decor items later on.  

Budget considerations   

Finally, don’t forget to consider your budget when looking for the perfect nursery furniture! Quality is key here, so do your research and compare prices across different brands before settling on a particular model – this way you can ensure that the piece you invest in will last until they reach primary school age (at least!).    

The bottom line  

Choosing the right cot may seem overwhelming, but it doesn’t have to be if you keep these tips in mind! Remember Safety first; size matters; materials used; comfort offered; style and design options; budget considerations – all play an important role in this big decision, so take your time to decide what works best for you and your child before making a long-term commitment!

The Essential Guide to Effective Mold Removal NJ

Mold removal is a necessary and important step in protecting your home or business from the harmful effects of mold. Mold removal NJ can be done safely and effectively by professionals with knowledge and experience in dealing with mold infestations. The process involves identifying the source of the moisture, removing all visible sources of mold growth, and properly cleaning and sanitizing contaminated surfaces. In this article, we will discuss the basics of effective mold removal NJ so that you can protect your property from further damage caused by the presence of dangerous fungi.

What Is Mold?

Mold is a type of fungus that grows on damp surfaces like walls, ceilings, floors, insulation, carpets, materials within furniture, and other organic materials. Although it’s commonly found indoors during humid weather conditions or when there’s been water damage due to flooding or plumbing issues; it can also be found outdoors as well. There are numerous types of molds found both indoors and outdoors including Aspergillus niger (black mold), Penicillium chrysogenum (blue-green mold), Stachybotrys chartarum (toxic black mold), Alternaria alternata (brown-black patches) among many others.

Why Is It Important to Remove Mold?

Mold removal NJ is incredibly important because it helps prevent further health problems caused by exposure to dangerous spores which can cause allergies, respiratory problems such as asthma attacks as well as other serious illnesses if left unchecked. Additionally, prolonged exposure to certain types of molds has been linked with neurological disorders such as depression and anxiety while some species have even been known to produce carcinogenic mycotoxins which may lead to cancer if ingested over long periods of time. Therefore it’s crucial to get rid of any visible signs before they spread further into other areas within your home or office space.

How do you identify a mold infestation?

In order to identify whether or not you have a mold problem in your home; one must look for telltale signs such as discoloration on walls/floors/ceilings; musty smells coming from hidden spaces like attics or basements; noticeable patches on walls/floors/ceilings etc. which often appear greenish-black in color; an increase in humidity levels inside the house; increased respiratory symptoms like coughing & sneezing among family members living in the same household etc.  So if you notice any one or a combination of these signs then chances are that you might need professional help for proper mold remediation services.

What are the steps involved in mold remediation?

Once an infestation has been identified, there are several steps involved in achieving complete removal:

 1) Determine the source of the moisture:

Before embarking on any sort of action plan to eliminate existing colonies, it is vital to find out what caused them in the first place. This could include leaking pipes, condensation due to excessive humidity, flood damage etc. Once identified, it’s essential that water sources are repaired immediately to prevent future growth.

 2) Locate all visible sources of mold growth:

The next step is to locate all visible areas where colonies are growing, either directly by physical inspection or using infrared scanning technology. These areas should then be marked off so that specialist equipment used at later stages does not miss them.

 3) Containment of the area:

Containment measures should be taken before the clean-up process begins. This includes sealing off the affected area with plastic sheeting and tape and setting up negative pressure machines near entrances to prevent spores from spreading throughout the rest house while work is being carried out.

 4) Remove all visible sources of growth:

Once containment is complete & all visible sources have been located, the next step would be to physically remove them using appropriate techniques depending on the material being handled, e.g. wet vacuuming carpets / wiping down hard surfaces etc. Anything removed should then be placed directly into sealed bags to prevent spores from escaping during the transport process itself, thus minimizing potential contamination elsewhere!

 5) Clean & disinfect affected areas properly:

The cleaning part requires special attention, as it’s not enough to simply wipe the surface – contaminated areas need to be scrubbed thoroughly with a diluted bleach solution, followed by another round of disinfectant spraying to ensure all traces are completely killed off before anyone is allowed back into the premises!

 6) Check for hidden areas and reapplication:

After the initial clean-up, check for areas missed the first time around, especially those behind walls where colonies may still be present undetected! If any are found, repeat the extraction process until you’re sure nothing has been left behind, otherwise, all your efforts will have been in vain!

 7) Install dehumidifiers to prevent future growth:

Last but not the least, installing dehumidifiers throughout the building will help reduce the overall moisture levels, making the environment less conducive to the formation of new colonies after everything else has been successfully completed!

Conclusion

Eliminating mold safely requires having the right tools & knowledge at your disposal, therefore seeking help from certified professionals is always preferred whenever possible! Following the steps outlined above regularly goes a long way in keeping indoor air quality high, ensuring safety for all concerned!

Introducing Easy Installation Techniques Using Pellet Fuel

The introduction of pellet fuel has been revolutionizing the way people heat their homes. Pellets are made from renewable sources such as wood, sawdust, and other biomass materials that are highly efficient and cost-effective for modern households. The ease of installation techniques using pellet fuel makes it a great choice for many homeowners looking to save money on their energy bills. In this article, we will discuss how easy it is to install a pellet stove in your home and what benefits you can expect when you make the switch.

Pellet stoves offer an incredibly easy installation process, especially compared to traditional gas or electric heating systems. All that is required is a chimney flue or vent pipe that meets local building codes; no additional framing or complicated wiring jobs are necessary. This makes them suitable even for small spaces like apartments and mobile homes where space constraints may be an issue. Additionally, many newer models come with self-cleaning features which means less maintenance work for the homeowner and greater efficiency all around.

When it comes to buying pellets, there are several options available depending on what type of fuel you prefer and how much heat output you need for your space. Hardwood pellets give off a pleasant smell while softwood pellets burn cleaner and more efficiently but produce less heat output than hardwoods do. Either way, they both provide significant savings over traditional fuels like oil or gas thanks to their high-efficiency rating – up to 90% in some cases!

Benefits of Going With Pellets

One of the biggest advantages of choosing pellet fuel is its eco-friendliness compared to other fossil fuels like coal or natural gas. Because they’re made from renewable resources like sawdust and wood chips, they don’t release harmful emissions into the atmosphere like other sources of energy do. This helps reduce air pollution while still providing enough warmth to keep your family comfortable during cold winter months – something everyone can appreciate!

Pellets are also very affordable compared to other forms of energy, with prices ranging from just $3-$10 per 40lb bag, depending on the type of pellet you choose (hardwood vs softwood). This means you can save hundreds of dollars a year on your heating bills without sacrificing the comfort of your home! Finally, because these stoves are relatively low maintenance compared to other types of heating, you won’t have to worry about costly repair bills or regular maintenance either – making them ideal for budget-conscious families who want reliable warmth without breaking the bank every month

Installation tips for your pellet stove  

As with any major purchase or appliance installation project, there are certain safety precautions that must be taken when installing a pellet stove in your home. The first step should always be to consult your local building regulations, as different areas may have specific requirements that need to be followed – this could include obtaining permits prior to starting construction, so make sure everything is properly documented before proceeding! Once these steps have been taken, it’s time to start the actual installation process:

1) Choose a location –

it’s important that the room you choose is well-ventilated, as this will help improve overall performance levels; windowsills tend not to work well due to draughts coming through them, so consider another area if possible (e.g. a corner away from windows).  Also, make sure there is enough space between nearby walls/objects so that nothing gets too hot during use as this could lead to potential fire hazards down the line!

2) Secure the mounting platform –

Before mounting anything to floor/wall surfaces, make sure everything is level; if necessary, use shims under the mounting platform until a stable position is achieved (this will help avoid potential problems later). Also, check that all screws/bolts used are tight before proceeding to the next step below.

3) Connecting the flue & chimney –

Depending on the type of model purchased, determine the appropriate size of flue pipes needed to connect the stove’s exhaust system to the outside (usually 4″ diameter is recommended, but double check manufacturer’s guidelines just in case!) After connecting the pipes together, make sure that sealants are applied to any joints to prevent leaks which could cause dangerous carbon monoxide build-up inside the house if left unchecked.

4) Install Ash Pan & Hopper Lid –

Most models come equipped with an ash pan bottom serving to catch ashes produced during burning pellets but if yours doesn’t then need to be purchased separately, mount it inside the lower section near the back side door opening easily accessible whenever needed to remove contents therein. Similarly, hopper lid should be securely fastened and placed over the feeder opening keeping mice out of pests while also maintaining optimum temperatures within the unit itself.

5) Test For Leaks & Finalise Setup –

Now time to test the entire setup make sure all connections are secure and tight and no gaps are present anywhere along seams that might allow fumes to escape notice any warning signs flashing display panel problem exists then need to be addressed immediately before continuing further tests.

Finally, once you are happy with the result, turn the dial to set the desired temperature, wait a few minutes, make sure it is working properly, wait a few minutes and then the job is officially done – congratulations!

Conclusion

Pellets offer an easy way for homeowners looking for an alternative form of energy at a fraction of the cost of traditional fossil fuels, without sacrificing indoor comfort during the cold winter months – plus the added bonus of environmental benefits! Installing one isn’t difficult either long as you follow the instructions outlined above properly taking note of the safety measures mentioned earlier thus ensuring minimum risk involved throughout the process altogether happy heating!

Tips for Choosing an Appliance Repair Service

If your appliances are in need of repair, it’s important to choose a reputable and reliable service to get the job done. With so many options out there, how do you know which one to choose? Here are a few tips to help you find the best appliance repair service for your needs:

  1. Check online reviews. Sites like Angie’s List and HomeAdvisor can give you an idea of what other customers have experienced with different companies.
  2. Ask for recommendations from friends or family who have used an appliance repair service in the past.
  3. Once you’ve narrowed down your choices, be sure to contact each company and ask questions about their services, pricing, and experience level.

Taking the time to do your research upfront will save you time and hassle in the long run!

Do your research – read reviews and compare pricing

Doing research before making a purchase is always prudent. To ensure you’re getting the best bang for your buck, take the time to read reviews for any product or service you’re considering. At https://vancouverapplianceservice.ca, you can easily find good quality reviews from past clients that are informative and helpful in comparing different options. It’s also important to compare pricing when making a decision. https://vancouverapplianceservice.ca offers competitive rates for all services to help you make an informed choice. Make sure to do your research before committing, and rest easy knowing you got the best deal possible!

Find a service that offers a warranty or guarantee on their work

Finding a service that offers a warranty or guarantee on their work is a great way to make sure that your job will be done right. A warranty can ensure that if something does go wrong, the service provider will step in and repair the damage, saving you time and money. Researching online can help you find reliable services that stand behind their work with such guarantees. Reputable customer reviews from past clients can also give you an idea of which companies honor their warranties or guarantees so you can feel secure investing in their services.

Make sure the company is licensed and insured

It’s important for any company you plan to hire to have the proper licensing and insurance, so that you can be sure they are just as accountable to the law as they are to you. Licensing protects consumers from unprofessional business practices, while insurance limits everyone’s financial risks and offers peace of mind when something unexpected occurs. Investing time into researching a company’s licensing and insurance credentials may seem tedious, but in the long run it can save you a lot of headaches and money.

Ask if they offer 24/7 support in case of an emergency

Emergency situations can arise at any time and having 24/7 support can be invaluable during those moments of crisis. Whether you are bringing a brand-new product to market or need assistance handling an unexpected system crash, 24/7 customer support can help ensure that your problems receive an immediate response, limiting the effects on your business operations. Before entrusting important functions to a vendor, it is essential to ask if they offer forms of 24/7 support so that you’ll know your company will be taken care of regardless of the time.

Get multiple quotes before making a decision

Making a major decision can be daunting and you want to make sure that you find the best possible choice. That is why it is so important to get multiple quotes before deciding. Gather at least 3-5 different opinions so you can compare, contrast and pick the best one that suits your needs and budget. Getting this information in advance will also give you peace of mind as you can also research customer reviews as well. So if you need to make a major decision, don’t settle for just one option; get several quotes first for an informed decision and greater satisfaction in the end.